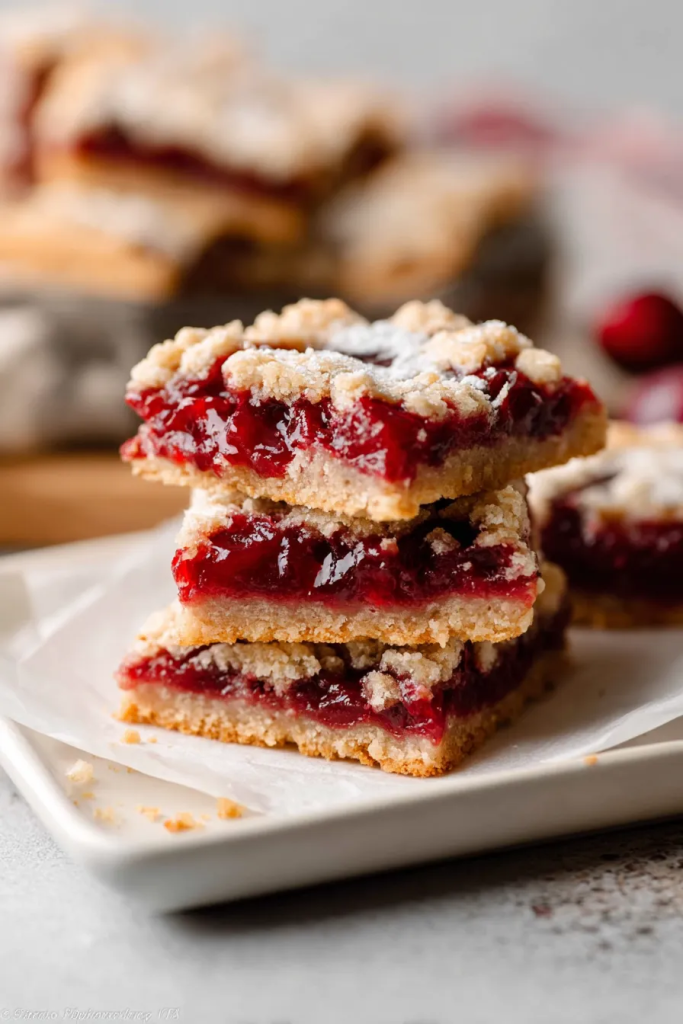
I’ve been obsessed with cherry pie bars ever since I discovered this incredible recipe! These bars capture all the delicious flavors of traditional cherry pie but in a fraction of the time. What makes them even better is that they’re made with wholesome ingredients that everyone can enjoy – they’re gluten-free, vegan, and refined sugar-free.
The inspiration for these cherry pie bars came from my love of classic cherry pie, but let’s be honest – making a full pie from scratch can take hours. Between preparing the crust, rolling it out, and creating those perfect lattice patterns, it’s quite the time investment. These bars give you all that cherry pie satisfaction with so much less effort!
What I absolutely love about this recipe is how it uses simple, whole food ingredients. The base is made with blanched almond flour instead of traditional wheat flour, making it naturally gluten-free and grain-free. Instead of butter, I use coconut oil, which adds a subtle tropical flavor that pairs beautifully with the tart cherries. The sweetness comes from coconut sugar and pure maple syrup, keeping everything refined sugar-free.
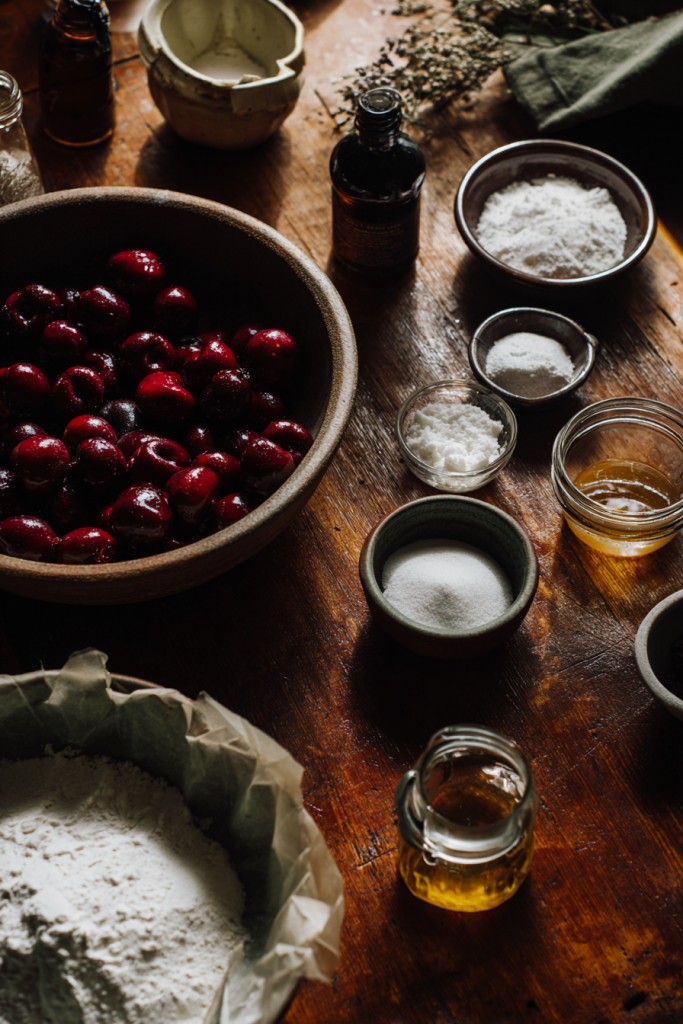
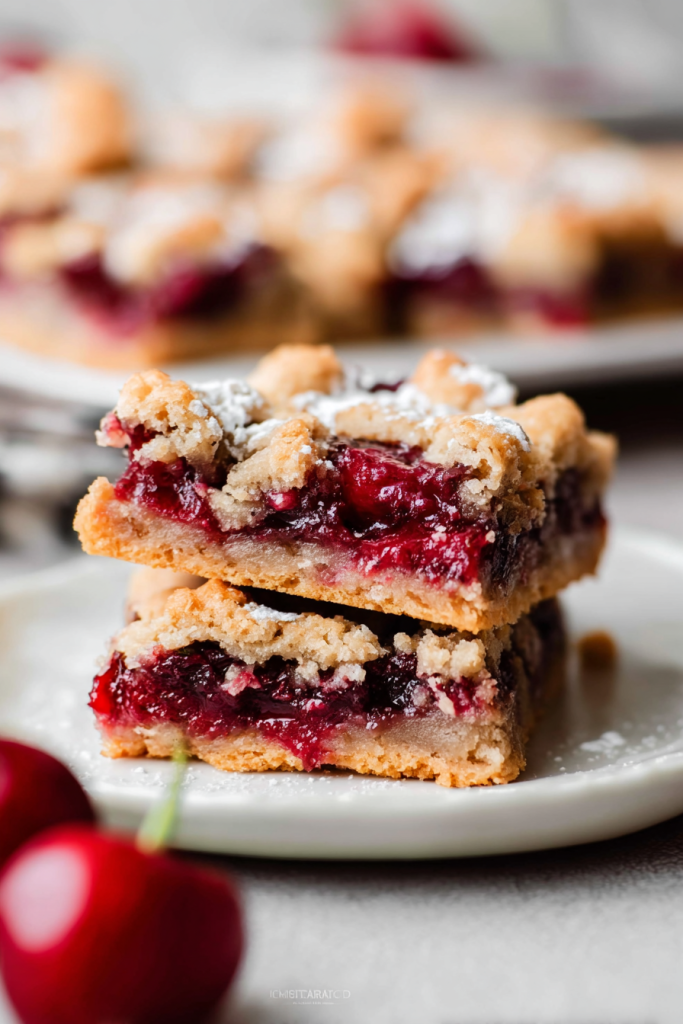
The cherry filling is where the magic happens. You can use either fresh or frozen cherries – both work wonderfully. I’ve tried this recipe with both tart and sweet cherries, and each version brings its own character. Tart cherries give you that classic cherry pie tang, while sweet cherries create a more mellow, dessert-like flavor. The tapioca starch helps thicken the filling perfectly, creating those gorgeous, glossy cherry pockets you see in bakery-style bars.
Prep Time: 15 minutes | Cook Time: 35 minutes | Total Time: 50 minutes
Servings: 9 bars | Difficulty: Easy
These bars are perfect for potlucks, family gatherings, or when you’re craving something sweet but want to keep it relatively healthy. My kids absolutely love them, and I feel good knowing they’re getting wholesome ingredients instead of processed sugars and refined flours.
Ingredients
| Ingredient | Quantity | Notes |
|---|---|---|
| Fresh or frozen pitted cherries | 4 cups | Both tart and sweet cherries work |
| Coconut sugar | 1/2 cup | Or use organic cane sugar |
| Tapioca starch (for filling) | 1.5 Tablespoons | Helps thicken the cherry mixture |
| Vanilla extract | 1 teaspoon | Pure extract preferred |
| Blanched almond flour | 3 cups | NOT almond meal – texture matters |
| Tapioca starch (for crust) | 2 Tablespoons | Adds structure to the bars |
| Baking soda | 1/4 teaspoon | For slight leavening |
| Sea salt | A pinch | Enhances all flavors |
| Coconut oil | 1/2 cup | Softened, not melted |
| Pure maple syrup | 1/4 cup | Adds moisture and sweetness |
| Extra sugar for topping | Optional | Coconut or cane sugar |
Instructions
Cherry Pie Filling:
I always start with the filling because it needs time to cool while I prepare the crust. If you’re using frozen cherries, let them thaw completely first – this usually takes about 2 hours at room temperature. Once thawed, drain off any excess liquid that’s collected in the bowl.
Add your cherries to a medium saucepan along with the coconut sugar. Place over medium heat and bring the mixture to a gentle boil. Let it cook at a low boil for 4-5 minutes, stirring occasionally. You’ll notice the cherries start to release their juices and turn a deeper, richer color.
Pro tip: Don’t rush this step! The cooking time helps concentrate the cherry flavor and creates that perfect pie-like consistency.
Next, stir in the tapioca starch and continue cooking for exactly one more minute. This is crucial – the tapioca needs that extra minute to properly thicken the mixture. Remove from heat and stir in the vanilla extract. Set this beautiful cherry filling aside to cool.
Crust and Assembly:
Preheat your oven to 350°F and line a 9×9 baking dish with parchment paper. I like to leave some overhang for easy removal later.
In a large mixing bowl, whisk together the almond flour, tapioca starch, baking soda, and sea salt. Make sure to break up any clumps in the almond flour – this ensures a smooth, even crust. Add the softened coconut oil and maple syrup, then stir until a thick, cohesive dough forms.
Here’s my secret: Reserve 3/4 cup of this dough for the crumb topping! Press the remaining dough evenly into your prepared baking dish and poke several holes with a fork to prevent puffing during baking.
Final Baking Steps
Bake the bottom crust for 10 minutes first – this prevents it from getting soggy once you add the cherry filling. Remove from the oven and carefully spread your cooled cherry pie filling evenly across the surface. Use the back of a spoon to distribute it into all the corners.
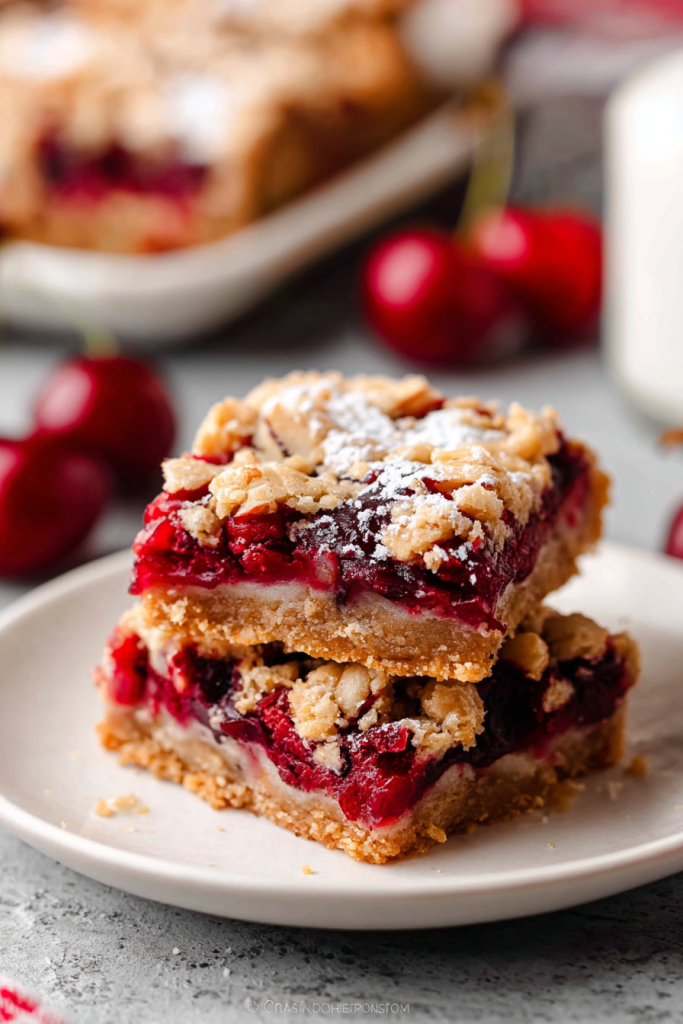
Now for the fun part! Take that reserved 3/4 cup of dough and crumble it over the cherry filling using your hands. I love this rustic, crumbly topping – it gives the bars such a beautiful homemade look. If you want them extra special, sprinkle about 1 tablespoon of cane sugar over the top for a gorgeous golden finish.
Return the bars to the oven and bake for 20-25 minutes, or until the edges turn lightly golden brown. The smell that fills your kitchen during this time is absolutely incredible!
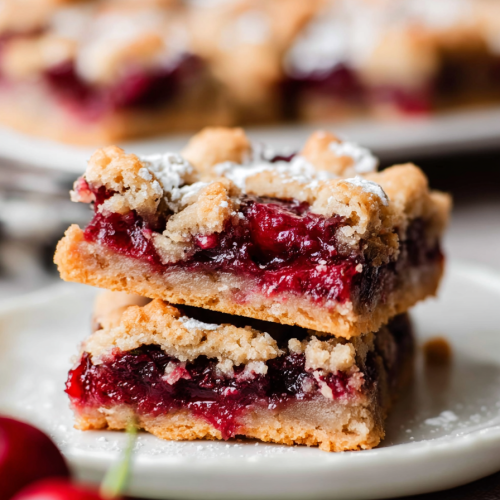
Here’s something I learned the hard way: let these bars cool completely before cutting. I know it’s tempting to dive right in, but cooling allows the filling to set properly and makes slicing so much cleaner. Trust me on this one!
Serving & Storage
These cherry pie bars are delicious on their own, but they’re absolutely divine served with a scoop of vanilla ice cream. I also love them with a dollop of whipped coconut cream for an extra special treat. They keep well covered at room temperature for up to 3 days, or you can refrigerate them for up to a week.
For longer storage, these bars freeze beautifully for up to 3 months. Just wrap individual bars in plastic wrap and store in a freezer-safe container.
Frequently Asked Questions
Can I use different types of cherries?
Absolutely! Both tart and sweet cherries work wonderfully. Tart cherries give you that classic cherry pie flavor, while sweet cherries create a more dessert-like taste. I’ve even mixed both types together for a complex flavor profile.
What if I don’t have tapioca starch?
You can substitute cornstarch in equal amounts for both the filling and crust. Arrowroot starch also works well as a 1:1 replacement.
Can I make these bars ahead of time?
Yes! These bars actually taste even better the next day as the flavors have time to meld together. Make them up to 2 days in advance and store covered at room temperature.
What’s the best way to soften coconut oil?
Leave it at room temperature for about 30 minutes, or gently warm the jar in a bowl of warm water. You want it soft and spreadable, not melted and liquid.
Can I double this recipe?
Definitely! Use a 9×13 inch pan and increase the baking time by 5-10 minutes. Keep an eye on the edges to prevent over-browning.
These cherry pie bars have become a staple in my kitchen, and I hope they become one in yours too!
Cherry Pie Bars
Ingredients
- Cherry Filling
- 4 cups fresh or frozen pitted cherries tart, sweet, or a blend
- ½ cup coconut sugar
- 1 ½ Tbsp tapioca starch
- 1 tsp vanilla extract
- Crust & Crumble
- 3 cups blanched almond flour not almond meal
- 2 Tbsp tapioca starch
- ¼ tsp baking soda
- Pinch sea salt
- ½ cup coconut oil softened (not melted)
- ¼ cup pure maple syrup
- 1 Tbsp coconut or cane sugar for finishing (optional)
Instructions
- Cook the Filling – In a medium saucepan combine cherries and coconut sugar. Bring to a gentle boil over medium heat; simmer 4–5 minutes, stirring occasionally, until the fruit releases juices and deepens in color. Whisk in tapioca starch; cook exactly 1 minute more to activate thickening. Remove from heat, stir in vanilla, and cool while you make the crust.
- Pre-bake the Base – Heat oven to 350 °F (175 °C). Line a 9 × 9-in pan with parchment, leaving overhang for lift-out. In a bowl whisk almond flour, tapioca starch, baking soda, and salt to eliminate clumps. Add softened coconut oil and maple syrup; stir until a cohesive dough forms. Reserve ¾ cup for crumble. Press the remainder firmly and evenly into the pan. Dock with a fork and bake 10 minutes; crust should look set but pale.
- Assemble & Bake – Spread the cooled cherry filling evenly over the hot crust. Crumble the reserved dough over the top; sprinkle with optional finishing sugar. Return pan to the oven and bake 20–25 minutes, until edges turn light golden.
- Cool & Portion – Allow bars to cool completely in the pan for clean cuts. Lift out via parchment and slice into 9 equal squares.