

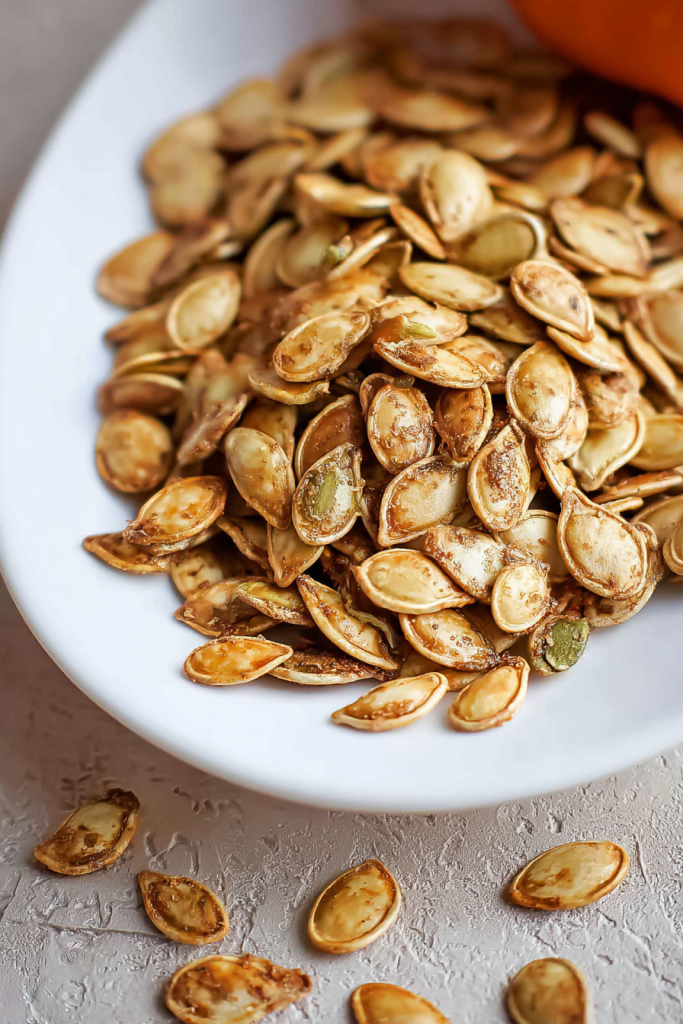
Every fall, when I carve my first pumpkin of the season, I get genuinely excited about one thing – those gorgeous seeds hiding inside! I’ve been perfecting my roasted pumpkin seeds recipe for years, and I’m thrilled to share my foolproof method with you. This isn’t just about reducing waste (though that’s a wonderful bonus); it’s about creating the most deliciously crunchy, perfectly seasoned snack that’ll have your family asking for more.
I remember the first time I attempted roasted pumpkin seeds – they turned out soggy and flavorless. After countless trials and a few kitchen disasters, I’ve discovered the secrets that make all the difference. The key lies in proper preparation, the right seasoning blend, and knowing exactly when they’re perfectly golden.
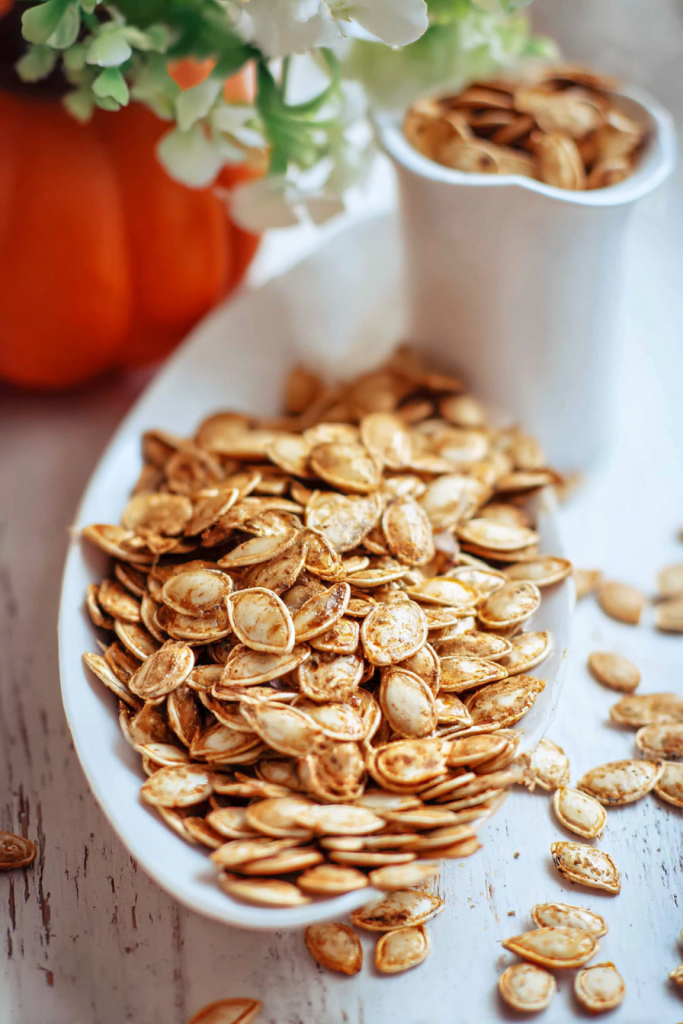
What makes my recipe special is the combination of garlic powder, paprika, and just the right amount of kosher salt that creates layers of flavor without overwhelming the natural nuttiness of the seeds. I’ve served these at fall gatherings, packed them in lunchboxes, and even gifted them to neighbors – they’re always a hit!
Why You’ll Love This Roasted Pumpkin Seeds Recipe
INCREDIBLY EASY – With just six ingredients and 25 minutes, you’ll have a gourmet snack that rivals anything store-bought. No complicated techniques or special equipment required.
PERFECTLY SEASONED – My blend of garlic powder, paprika, and pepper creates a savory profile that’s neither too mild nor overwhelming. It’s the goldilocks of seasoning!
ZERO WASTE COOKING – Transform what would typically be compost into your family’s new favorite snack. It feels amazing to use every part of the pumpkin.
HEALTHY SNACKING – Pumpkin seeds are packed with magnesium, zinc, and healthy fats. They’re naturally gluten-free and make a nutritious alternative to processed snacks.
My Secret to Cleaning Pumpkin Seeds
Before we dive into the actual roasting process, let me share my tried-and-true method for cleaning pumpkin seeds. This step is crucial – properly cleaned seeds roast more evenly and taste infinitely better.
First, I scoop all the seeds into a large bowl, removing as much of the stringy pulp as possible by hand. Don’t worry about getting every bit; we’ll handle the rest in the next step. Then I transfer everything to a fine-mesh colander and run cold water over the seeds while gently agitating them with my hands.
Here’s my pro tip: let the seeds sit in the colander for about an hour after rinsing. This allows excess moisture to drain away naturally, which is essential for achieving that perfect crispy texture. I used to pat them dry with paper towels, but I found they’d stick and tear – air drying is much more effective.
The Perfect Seasoning Blend
After experimenting with countless spice combinations, I’ve settled on this winning formula. The garlic powder provides a savory base, while the paprika adds a subtle smokiness and beautiful color. The black pepper gives just enough heat to make things interesting, and the kosher salt enhances all the other flavors.
Ingredients Table
| Ingredient | Quantity | Notes |
|---|---|---|
| Pumpkin seeds | 1 cup | Cleaned and dried |
| Olive oil | 2 tbsp | Extra virgin preferred |
| Garlic powder | 1 tsp | Not garlic salt |
| Black pepper | 1 tsp | Freshly ground for best flavor |
| Paprika | 1 tsp | Sweet paprika works best |
| Kosher salt | 1 tsp | Can substitute with sea salt |
Prep Time: 10 minutes | Cook Time: 15 minutes | Total Time: 25 minutes
Servings: 4 | Difficulty: Easy
Step-by-Step Roasting Instructions
Step 1: Preheat Your Oven
Set your oven to 350°F (175°C). I’ve found this temperature gives the perfect balance – hot enough to create that coveted crunch without burning the delicate seeds.
Step 2: Create the Seasoning Mix
In a medium bowl, combine your cleaned pumpkin seeds with olive oil. Toss until every seed is lightly coated – the oil helps the seasonings stick and promotes even browning. Next, add the garlic powder, black pepper, paprika, and kosher salt. Mix thoroughly with your hands or a spoon until the seeds are evenly coated with the spice mixture.
Step 3: Arrange for Even Cooking
Line a rimmed baking sheet with parchment paper (this prevents sticking and makes cleanup easier). Spread the seasoned seeds in a single layer, ensuring they don’t overlap. Crowded seeds steam rather than roast, resulting in a chewy texture instead of the crispy perfection we’re after.
Step 4: The Roasting Process
Slide the baking sheet into your preheated oven and set a timer for 12 minutes. Here’s where my experience comes in handy – start checking on them after 12 minutes, then every 2 minutes thereafter. Depending on your oven and the size of your seeds, total cooking time will be between 15-20 minutes.
You’ll know they’re done when they’re golden brown and sound hollow when tapped with a spoon. I like to test one by letting it cool for a minute, then taking a bite – it should be satisfyingly crunchy throughout.
Pro Tips for Perfect Results
Don’t Skip the Drying Time – I cannot stress this enough. Wet seeds will never achieve that perfect crispiness, no matter how long you roast them. Give them time to air dry completely.
Size Matters – Larger seeds take longer to cook through. If you’re working with a mix of sizes, consider separating them and removing smaller ones earlier.
Watch Like a Hawk – Pumpkin seeds can go from perfectly golden to burnt in just a few minutes. Stay nearby during the final cooking stages.
Let Them Cool Completely – They’ll continue crisping up as they cool, so resist the urge to judge doneness while they’re still hot.
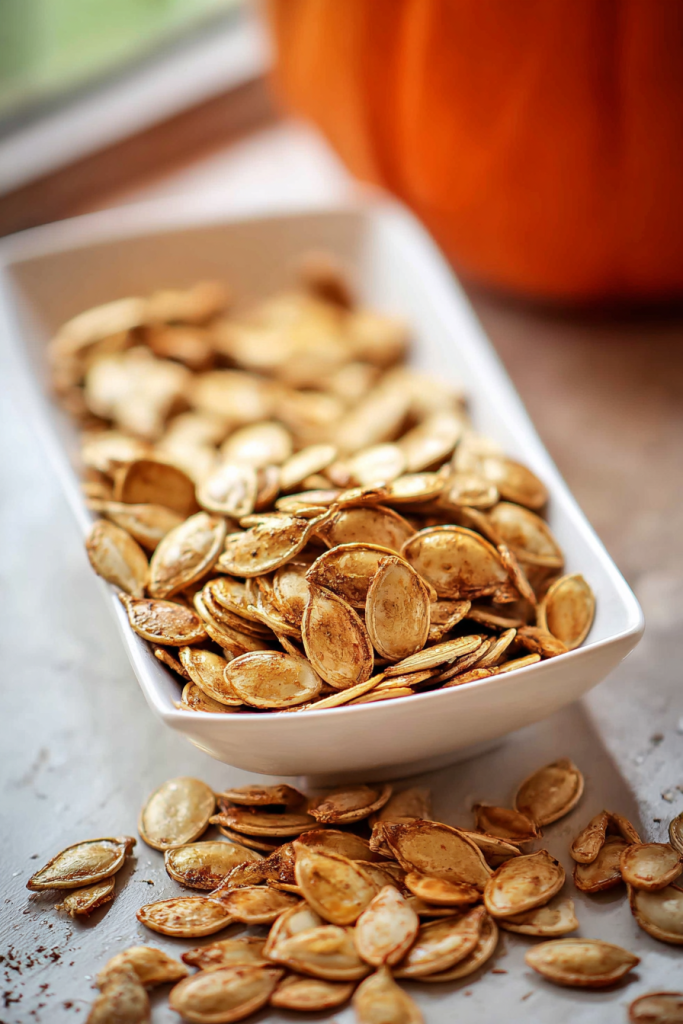
How to Store Your Roasted Pumpkin Seeds
Once your seeds have cooled completely, transfer them to an airtight container. I prefer glass jars because they don’t absorb odors and keep the seeds crispier longer. Stored at room temperature, they’ll maintain their crunch for up to one week – though in my house, they rarely last that long!
For longer storage, you can keep them in the refrigerator for up to two months. If they lose some crispiness over time, simply pop them back in a 350°F oven for 3-4 minutes to refresh their texture.
Delicious Variations to Try
While my classic recipe is fantastic, here are some variations I love experimenting with:
Spicy Heat Lovers: Add 1/2 teaspoon cayenne pepper and a pinch of chili powder to the mix for a fiery kick that builds with each bite.
Sweet & Savory: Replace the garlic powder with 1 tablespoon brown sugar and 1/2 teaspoon cinnamon for a treat that tastes like fall in a handful.
Parmesan Herb: After roasting, immediately toss the hot seeds with 2 tablespoons grated Parmesan cheese and 1/2 teaspoon dried Italian herbs.
Nutritional Benefits
Beyond their incredible taste, roasted pumpkin seeds are nutritional powerhouses. They’re rich in magnesium, which supports heart health, and zinc, essential for immune function. The healthy fats help you feel satisfied, making them an excellent alternative to processed snacks.
Frequently Asked Questions
Can I use seeds from any type of pumpkin?
Absolutely! While carving pumpkins work great, seeds from sugar pumpkins (pie pumpkins) tend to be slightly more tender and mild in flavor. Even decorative gourds produce delicious roasted seeds.
What if my seeds aren’t getting crispy?
The most common culprit is insufficient drying time before roasting. Make sure your seeds are completely dry to the touch. Also, avoid overcrowding the baking sheet, as this creates steam and prevents proper crisping.
Can I prepare the seasoned seeds ahead of time?
Yes! You can clean, dry, and season the seeds up to 24 hours before roasting. Store them covered in the refrigerator, then bring to room temperature before baking.
My seeds turned out too salty. How can I fix this?
If you haven’t eaten them yet, you can rinse off excess salt and re-season more lightly, then roast again briefly. For future batches, start with less salt – you can always add more after tasting.
Are there any seeds I shouldn’t eat?
Stick to culinary pumpkins and winter squash varieties. Avoid seeds from pumpkins that have been treated with non-food-safe products or decorative gourds not intended for consumption.
Final Thoughts
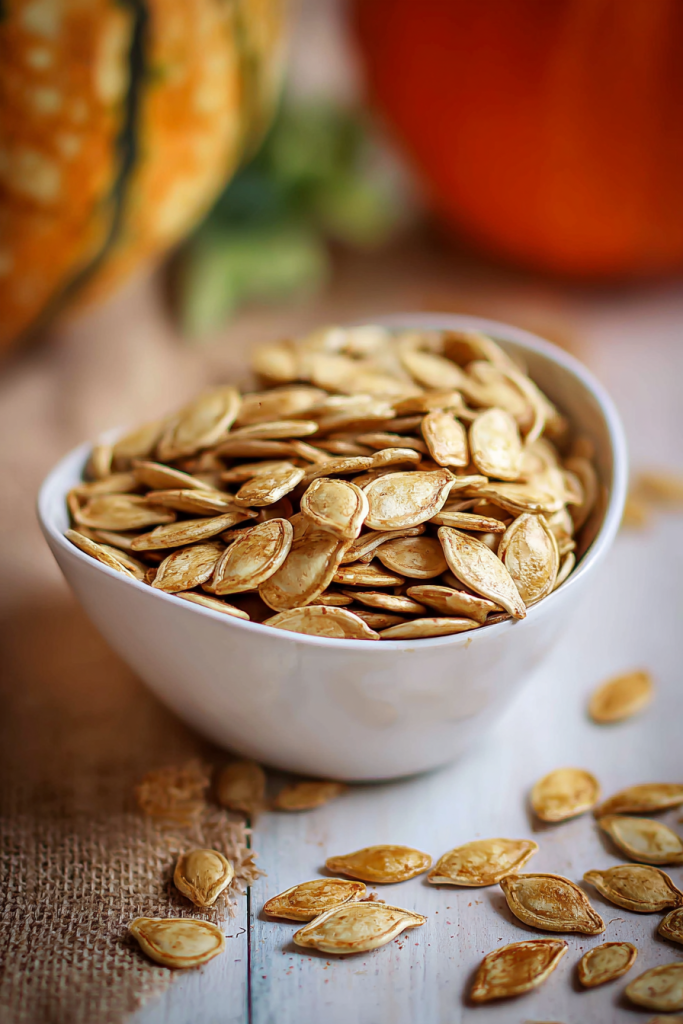
There’s something magical about transforming what many consider waste into a gourmet snack that everyone loves. This roasted pumpkin seeds recipe has become a cherished fall tradition in my kitchen, and I hope it becomes one in yours too.
The beauty lies not just in the delicious results, but in the satisfaction of using every part of your pumpkin. Whether you’re carving jack-o’-lanterns with the kids or preparing fresh pumpkin for pies, don’t let those precious seeds go to waste.
Remember, cooking is about experimentation and making recipes your own. Start with my base recipe, then feel free to adjust seasonings to match your family’s preferences. Some like them saltier, others prefer more spice – there’s no wrong way to enjoy these crunchy gems.
Next time you’re faced with a pile of pumpkin innards, smile knowing you’re about to create something truly special. Happy roasting!
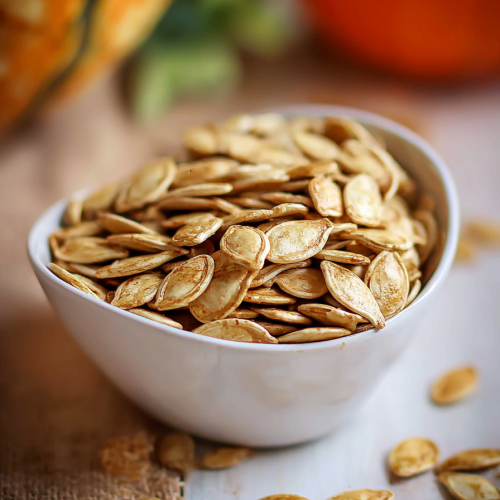
Perfectly Roasted Pumpkin Seeds
Ingredients
- 1 cup pumpkin seeds cleaned and dried
- 2 tbsp olive oil extra virgin preferred
- 1 tsp garlic powder not garlic salt
- 1 tsp black pepper freshly ground
- 1 tsp paprika sweet paprika works best
- 1 tsp kosher salt or sea salt
Instructions
- Preheat Your Oven:
- Preheat oven to 350°F (175°C).
- Season the Seeds:
- In a medium bowl, toss cleaned and dried pumpkin seeds with olive oil until coated. Add garlic powder, black pepper, paprika, and kosher salt. Mix well until evenly seasoned.
- Prepare for Roasting:
- Line a rimmed baking sheet with parchment paper. Spread the seeds in a single, even layer to ensure crisping.
- Roast:
- Bake for 12 minutes, then check every 2 minutes. Seeds should be golden brown and sound hollow when tapped. Total cooking time is 15–20 minutes.
- Cool:
- Let seeds cool completely on the baking sheet. They will continue to crisp as they cool.