
This snickerdoodle cookies recipe will change everything you thought you knew about baking these classic treats. Did you know that most people add too much cinnamon to their coating, masking the cookie’s delicate flavor balance?
I learned this the hard way after years of baking what I thought were “perfect” snickerdoodles. My cookies were always good, but something felt off. The cinnamon overwhelmed everything else. Then one afternoon, my neighbor shared her grandmother’s recipe, and everything clicked. The proportion of cinnamon to sugar was completely different from what I’d been using. That single adjustment transformed my baking forever.
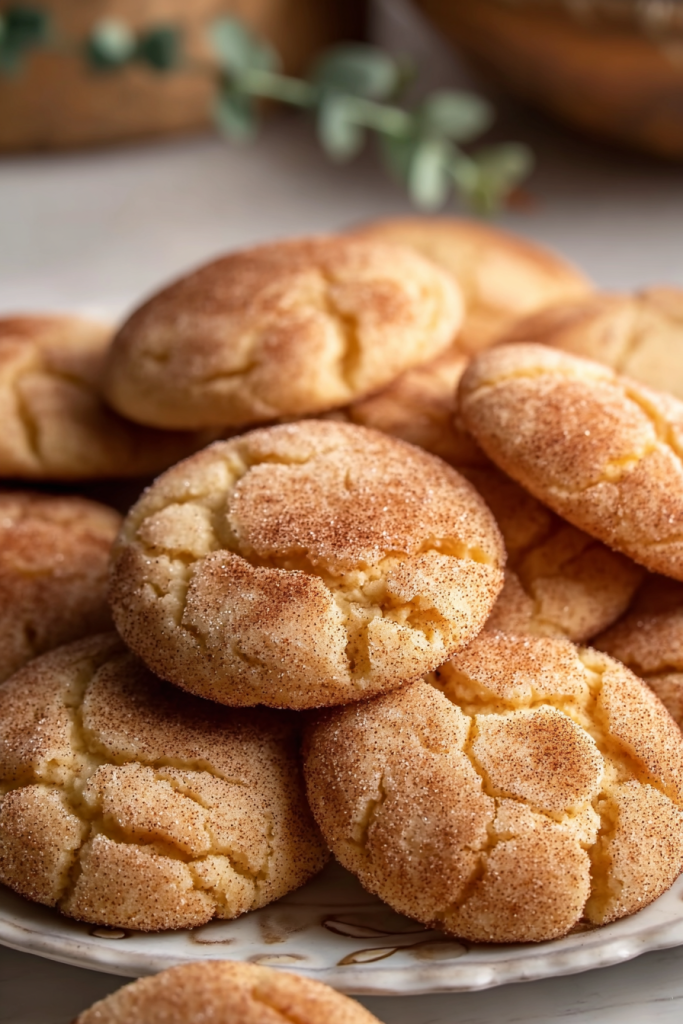
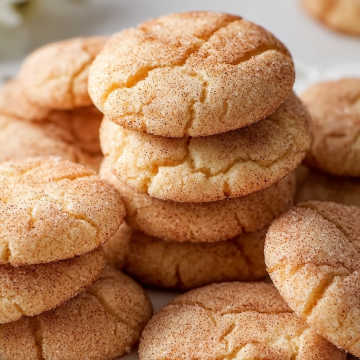
Those cookies were magic. They had a gentle cinnamon warmth that complemented rather than dominated. The buttery richness shone through. Every bite offered that signature tangy sweetness that makes snickerdoodles so special. I’ve since perfected my own version, and I can’t wait to share it with you today.
The beauty of snickerdoodles lies in their simplicity. You don’t need exotic ingredients or complicated techniques. What you need is understanding. Understanding how cream of tartar creates that distinctive tang. Understanding why butter temperature matters so much. Understanding the exact moment to pull cookies from the oven. This recipe will give you all of that and more.
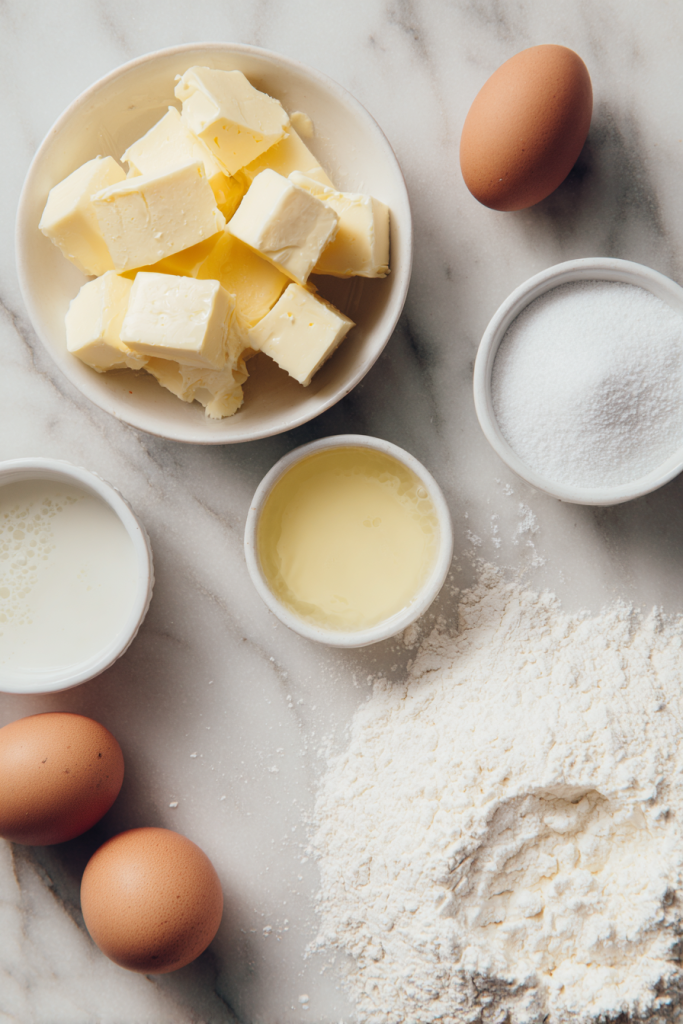
The Essential Ingredients
Let me walk you through each ingredient and why it matters. This isn’t just a shopping list. It’s your roadmap to cookie perfection.
1 cup unsalted butter, softened – This is your flavor foundation. I always leave my butter on the counter for about an hour before baking. It should feel slightly cool but press easily. Too soft, and your cookies will spread flat. Too cold, and they won’t cream properly.
1 1/2 cups granulated sugar – This provides sweetness and helps create that beautiful crackled surface. We’ll use additional sugar for rolling, but this amount goes directly into the dough.
2 large eggs – Room temperature is crucial here. Cold eggs won’t incorporate smoothly into your butter mixture. If you forget to take them out early, place them in warm water for five minutes.
2 3/4 cups all-purpose flour – Your structure builder. I always spoon flour into my measuring cup and level it off. Scooping directly from the bag packs too much flour, resulting in dry cookies.
2 teaspoons cream of tartar – This is what makes a snickerdoodle a snickerdoodle. It creates that subtle tang and contributes to the soft texture. You absolutely cannot skip this ingredient.
1 teaspoon baking soda – Working with the cream of tartar, this creates the perfect rise. Together, they’re like the dynamic duo of cookie chemistry.
1/2 teaspoon salt – Never skip salt in baking. It balances sweetness and enhances all other flavors.
For the coating: 1/4 cup granulated sugar – This combines with cinnamon to create that iconic exterior. 1 tablespoon ground cinnamon – The star of the show. This exact amount provides warmth without overwhelming the cookie’s buttery flavor.
Recipe Information Table
| Metric | Details |
|---|---|
| Prep Time | 10 minutes |
| Cook Time | 15 minutes |
| Total Time | 25 minutes |
| Servings | 24 cookies |
| Difficulty | Easy |
Ingredients Table
| Ingredient | Quantity | Notes |
|---|---|---|
| Unsalted butter | 1 cup | Softened to room temperature |
| Granulated sugar | 1 1/2 cups | Plus 1/4 cup for rolling |
| Large eggs | 2 | Room temperature preferred |
| All-purpose flour | 2 3/4 cups | Spoon and level method |
| Cream of tartar | 2 teaspoons | Essential for tang |
| Baking soda | 1 teaspoon | Fresh for best rise |
| Salt | 1/2 teaspoon | Fine sea salt works best |
| Ground cinnamon | 1 tablespoon | For coating mixture |
Step-by-Step Instructions
Now comes the truly exciting part. Let’s transform these simple ingredients into something extraordinary. I’ll guide you through each step with all the tips I’ve learned over the years.
Getting Started
First, preheat your oven to 350°F (175°C). This temperature is perfect for snickerdoodles. Too hot, and the edges burn before the centers cook. Too cool, and they spread too thin. Line your baking sheets with parchment paper. This prevents sticking and ensures even browning.
Step 1: Cream the Butter and Sugar
Place your softened butter and 1 1/2 cups of sugar in a large mixing bowl. Beat them together on medium speed for 2-3 minutes. This step is critical. You’re not just mixing—you’re incorporating air. The mixture should become pale yellow and fluffy. Scrape down the bowl sides halfway through. Every bit of butter needs to be creamed evenly.
I can’t stress this enough: proper creaming makes or breaks your cookies. It creates tiny air pockets that give snickerdoodles their tender crumb. If you rush this step, your cookies will be dense.
Step 2: Incorporate the Eggs
Add your eggs one at a time. Beat well after each addition. This means mixing for about 30 seconds after each egg. You want complete incorporation before adding the next one. This creates a smooth, emulsified batter. If you dump both eggs in at once, the mixture might separate.
Step 3: Prepare Your Dry Ingredients
In a separate bowl, whisk together your flour, cream of tartar, baking soda, and salt. Whisking distributes the leavening agents evenly. This ensures every cookie rises consistently. I usually whisk for a full 30 seconds.
Step 4: Combine Wet and Dry
Switch your mixer to low speed. Gradually add your dry ingredients to the butter mixture. Add about one-third at a time. Mix just until you see no more flour streaks. This is crucial: do not overmix. Overmixing develops gluten, which creates tough, cakey cookies instead of tender, chewy ones.
The dough will be soft but not sticky. If it seems too soft to handle, that’s normal. We’ll work with it gently.
Step 5: Create the Cinnamon-Sugar Magic
In a small bowl, whisk together 1/4 cup of sugar and your tablespoon of cinnamon. Mix thoroughly so the cinnamon distributes evenly. This is your coating mixture.
Using a cookie scoop or tablespoon, portion out dough and roll into 1-inch balls. Work with slightly damp hands if the dough sticks. Roll each ball generously in the cinnamon-sugar mixture. Make sure every surface is coated. This creates that beautiful speckled appearance and concentrated cinnamon flavor.
Step 6: Arrange and Bake
Place your coated dough balls on the prepared baking sheets. Space them about 2 inches apart. They will spread during baking. Crowding leads to cookies that bake together into one giant cookie blob.
Bake for 10-12 minutes. Here’s the secret: they should look slightly underdone when you pull them out. The centers will seem soft and puffy. The edges should be just set. They’ll continue cooking on the hot baking sheet.
Let cookies cool on the baking sheet for 5 minutes. This cooling time is essential. It allows them to firm up just enough to move without breaking. Then transfer to a wire rack to cool completely.
Understanding the Baking Process
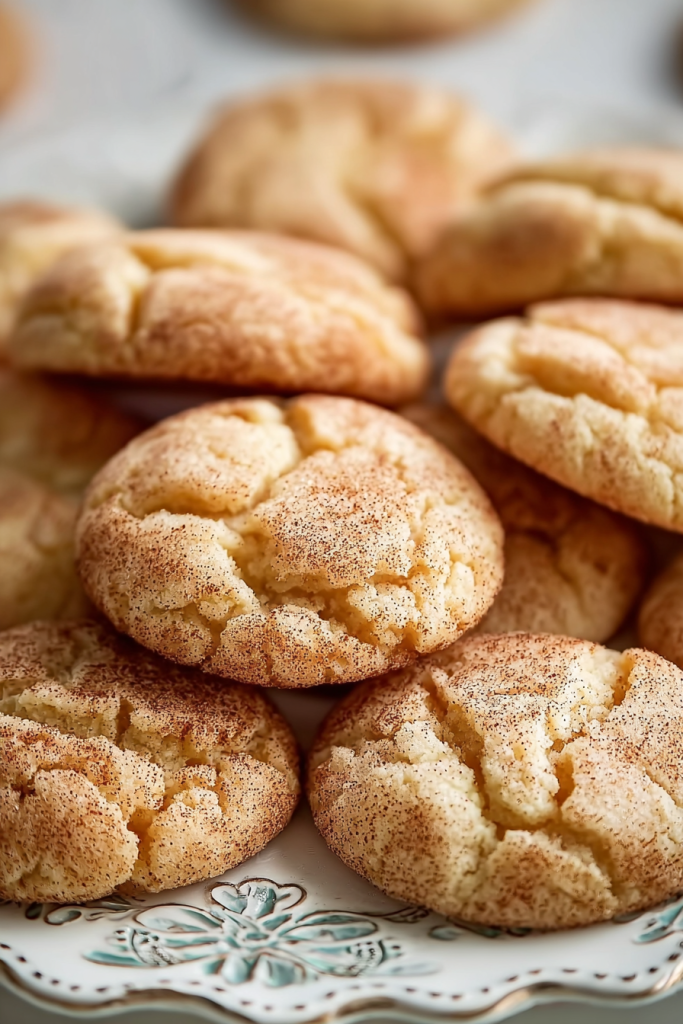
During those crucial 10-12 minutes in the oven, magic happens. The heat melts the butter, creating steam. The baking soda and cream of tartar react, releasing carbon dioxide. This combination causes the cookies to rise and spread. The sugar caramelizes slightly, creating that crackled top.
Watch your cookies carefully during the last few minutes. Oven temperatures vary. Some run hot, some run cool. You’ll know they’re done when the edges are golden and the centers still look pale and slightly puffy.
Pro Tips, Variations & FAQs
Taking Your Snickerdoodles to Perfection
Let me share the techniques that transformed my good cookies into great ones. These tips come from countless batches and many learning moments.
Chill for Better Texture: While this recipe works at room temperature, chilling the dough for 30 minutes prevents excessive spreading. Chilled dough also develops deeper flavor. If you have time, refrigerate for an hour or even overnight.
Don’t Overbake: This is the number one mistake I see. Snickerdoodles should look slightly underdone when you remove them. They’ll continue cooking on the hot pan. Overbaked snickerdoodles turn hard and lose that signature chewiness.
Consistent Sizing Matters: Use a cookie scoop for uniform cookies. Consistent size means consistent baking. No more burned small cookies next to underbaked large ones.
Fresh Ingredients Make a Difference: Check your baking soda and cream of tartar expiration dates. Old leavening agents won’t work properly. Your cookies might not rise or develop that characteristic tang.
Creative Variations to Try
Once you’ve mastered the classic, try these delicious twists:
Spiced Snickerdoodles: Add 1/2 teaspoon of cardamom or nutmeg to your cinnamon-sugar mixture. This creates a warm, complex flavor perfect for fall.
Brown Butter Version: Brown your butter before starting. Let it cool to room temperature first. Brown butter adds deep, nutty notes that elevate the entire cookie.
Gluten-Free Option: Replace all-purpose flour with a 1:1 gluten-free baking blend. Look for one that contains xanthan gum. The texture will be nearly identical.
Stuffed Snickerdoodles: Place a small piece of caramel or chocolate in the center of each dough ball. Roll in cinnamon sugar as usual. The surprise center makes them extra special.
Perfect Pairings
These cookies shine on their own, but they love company:
- Cold Milk: The classic combination never disappoints.
- Hot Apple Cider: The cinnamon echoes beautifully.
- Vanilla Ice Cream: Crumble cookies on top for an instant sundae.
- Coffee or Tea: The sweetness balances bitter notes perfectly.
Storage and Make-Ahead Tips
Store cooled cookies in an airtight container at room temperature for up to 5 days. They actually get chewier after a day or two.
For longer storage, freeze baked cookies for up to 3 months. Layer them with parchment paper in a freezer-safe container. Thaw at room temperature for an hour.
You can also freeze the dough balls before coating them. Freeze on a baking sheet, then transfer to a freezer bag. When ready to bake, roll frozen balls in cinnamon sugar and add 2 minutes to baking time.
Frequently Asked Questions
Can I use salted butter instead of unsalted? Yes, but reduce the salt in the recipe to 1/4 teaspoon. Salted butter contains varying amounts of salt, making it harder to control the final flavor. I always recommend unsalted for baking.
Why are my cookies spreading too much? This usually happens when butter is too soft or dough is too warm. Make sure your butter is just softened, not melted. Try chilling your dough for 30 minutes before baking.
Can I substitute the cream of tartar? You can use 2 teaspoons of white vinegar or lemon juice, but the texture won’t be quite as chewy. Cream of tartar is really what makes these authentic snickerdoodles.
How do I know when they’re perfectly done? Look for edges that are set and lightly golden, while centers still appear soft and slightly puffy. They should not look wet, but they shouldn’t be completely firm either.
Can I make the dough ahead of time? Absolutely! Refrigerate the dough for up to 3 days or freeze for up to 3 months. Bring to room temperature before rolling into balls.
Conclusion
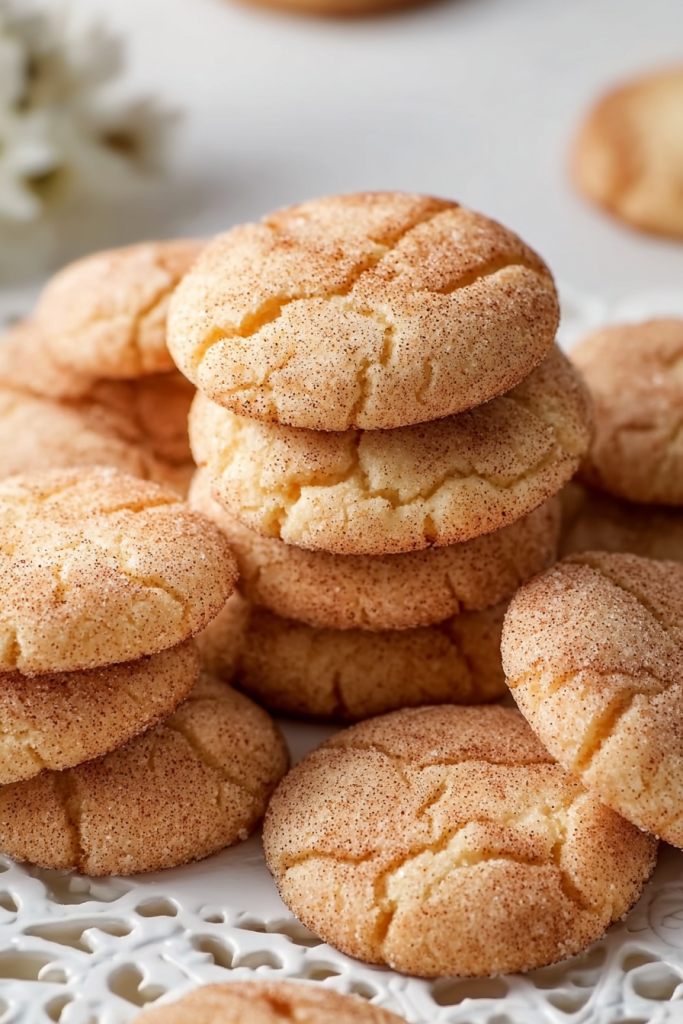
There you have it—everything you need to create bakery-quality snickerdoodles in your own kitchen. These cookies embody comfort, simplicity, and pure deliciousness. That perfect balance of cinnamon warmth, buttery richness, and chewy texture makes them irresistible.
Remember, the key is in the details. Proper creaming, careful mixing, and not overbaking will give you those signature crackled tops and tender centers every single time. The cream of tartar provides that unique tang that sets snickerdoodles apart from every other cookie.
I hope this recipe becomes a beloved staple in your home. There’s something magical about pulling these from the oven and watching them disappear. Please share your baking adventures in the comments below! Did you try any variations? How did your family react? I love seeing your creations and hearing your stories.
If you enjoyed this recipe, explore our other classic cookie recipes for more sweet inspiration. Happy baking, friends!
Snickerdoodle Cookies
Ingredients
- For the Cookie Dough:
- 1 cup unsalted butter softened
- 1 1/2 cups granulated sugar
- 2 large eggs
- 2 3/4 cups all-purpose flour
- 2 teaspoons cream of tartar
- 1 teaspoon baking soda
- 1/2 teaspoon salt
- For the Cinnamon-Sugar Coating:
- 1/4 cup granulated sugar
- 1 tablespoon ground cinnamon
Instructions
- Preheat and Prepare
- Preheat oven to 350°F (175°C). Line baking sheets with parchment paper.
- Cream Butter and Sugar
- In a large mixing bowl, beat softened butter and 1 1/2 cups sugar on medium speed for 2-3 minutes until light, pale, and fluffy. Scrape down bowl sides halfway through.
- Add Eggs
- Add eggs one at a time, beating well for 30 seconds after each addition until fully incorporated and mixture is smooth.
- Mix Dry Ingredients
- In a separate bowl, whisk together flour, cream of tartar, baking soda, and salt for 30 seconds to distribute evenly.
- Combine Wet and Dry
- With mixer on low speed, gradually add dry ingredients to butter mixture in three additions. Mix just until no flour streaks remain. Do not overmix.
- Prepare Coating
- In a small bowl, whisk together 1/4 cup sugar and 1 tablespoon cinnamon until well combined.
- Shape and Coat
- Using a cookie scoop or tablespoon, portion dough and roll into 1-inch balls. Roll each ball generously in cinnamon-sugar mixture until completely coated.
- Bake
- Place dough balls 2 inches apart on prepared baking sheets. Bake for 10-12 minutes until edges are set but centers still look soft and slightly puffy.
- Cool
- Let cookies cool on baking sheet for 5 minutes to firm up, then transfer to a wire rack to cool completely.
Notes
Don’t Overbake: Cookies should look slightly underdone when removed from oven. They continue cooking on the hot baking sheet.
Chilling Option: For thicker cookies, chill dough for 30 minutes before rolling into balls.
Storage: Store in airtight container at room temperature for up to 5 days. Cookies become chewier after 1-2 days.
Freezing: Freeze baked cookies up to 3 months, or freeze uncoated dough balls and bake from frozen (add 2 minutes to baking time).
Cream of Tartar Substitute: Can substitute with 2 teaspoons white vinegar or lemon juice, though texture will be less chewy.
Gluten-Free Option: Use 1:1 gluten-free baking blend with xanthan gum for similar results.
1 Comment
Thank you for the step by step instructions and the why’s on each step.
Can’t wait to try this recipe, my cousins favorite cookie i want to bake for her