

There’s something magical about biting into a freshly baked scone. The buttery layers crumble softly in your mouth, melting away with each bite. I’ve spent years perfecting this easy scone recipe, and I’m thrilled to share it with you today.
What Makes These Scones Special?
I’ll be honest with you – I’ve tasted my fair share of disappointing scones. You know the ones I’m talking about. They’re dry, crumbly, and leave you reaching for water after every bite. That’s not what scones should be like at all.
When I first started baking scones, I struggled to get them right. They would either turn out flat and dense or so dry they fell apart. But after countless batches and lots of trial and error, I finally cracked the code. The secret lies in keeping your ingredients cold and handling the dough gently.
These scones are different from what you might find at a coffee shop. They’re tender and moist on the inside with slightly crisp edges. The buttermilk adds a subtle tang that balances the sweetness perfectly. And the best part? They’re surprisingly simple to make once you know the technique.
Why You’ll Love This Recipe
This recipe uses ingredients you probably already have in your kitchen. No fancy equipment needed – just a bowl, your hands, and a baking sheet. I’ve designed this recipe to be foolproof for beginners while still delivering bakery-quality results.
The texture is what really sets these scones apart. By using a simple folding technique, we create beautiful flaky layers. Each scone rises tall and proud in the oven, developing a gorgeous golden-brown top. When you break one open, you’ll see those delicate layers that make scones so irresistible.
I love how versatile this recipe is too. You can enjoy these scones plain with butter or dress them up however you like. Add chocolate chips for a sweet treat. Mix in fresh blueberries for a fruity twist. Or keep them simple and serve with jam and cream for a classic afternoon tea.
My Journey with Scones
I remember the first time I successfully made scones that actually turned out right. I was so excited I called my mom to tell her. She laughed and said, “Now you understand why people love them so much!” She was absolutely right.
Since then, I’ve made these scones countless times. They’re my go-to recipe for weekend breakfasts and special occasions alike. Guests always ask for the recipe, and now I’m sharing it with you. Whether you’re new to baking or have been doing it for years, I promise you’ll love how these turn out.
The key is not to overthink it. Scones are meant to be rustic and homey. A few cracks here and there just add to their charm. What matters is that buttery, tender crumb and those beautiful flaky layers.
Recipe Timing:
Prep Time: 10 minutes | Cook Time: 15 minutes | Total Time: 25 minutes
Servings: 8 scones | Difficulty: Easy
Ingredients, Instructions & Tips
Ingredients You’ll Need
Let me walk you through each ingredient and why it matters. Getting the right ingredients is half the battle in making perfect scones.
| Ingredient | Quantity | Notes |
|---|---|---|
| All-purpose Flour | 2 ½ cups (312g) | Provides structure and stability |
| Granulated Sugar | ⅓ cup (66g) | Adds sweetness without overpowering |
| Salt | ½ teaspoon | Enhances all the flavors |
| Baking Powder | 1 tablespoon | Creates lift and fluffiness |
| Unsalted Butter | 1 ¼ sticks (140g) | Must be cold; creates flaky layers |
| Buttermilk | ½ cup (120ml) | Keeps scones tender and moist |
| Large Egg | 1 | Binds ingredients together |
| Vanilla Extract | 1 teaspoon | Adds warm, sweet flavor |
Important Note: All refrigerated ingredients must be cold. This isn’t just a suggestion – it’s crucial for creating those flaky layers. I keep my butter in the freezer for 10 minutes before starting.

Step-by-Step Instructions
Prepare the Dry Ingredients
First, grab a large mixing bowl and combine your flour, sugar, salt, and baking powder. Whisk them together until everything is evenly distributed. This ensures every bite of your scones will be perfectly balanced.
Cut in the Butter
This is where the magic happens. Take your cold butter and cut it into small cubes. Add these cubes to your flour mixture. Now, using your fingertips, rub the butter into the flour. You want to create pea-sized pieces throughout the mixture.
I like to flatten some of the butter pieces between my fingers. This creates thin flakes that will turn into those beautiful layers when baked. Your mixture should look crumbly and pale yellow when you’re done.
Mix the Wet Ingredients
In a separate bowl, whisk together the egg, buttermilk, and vanilla extract. Use a fork and mix until everything is well combined. The mixture should be smooth and slightly frothy.
Pour this wet mixture into your flour and butter mixture. Using a wooden spoon or spatula, gently fold everything together. Stop mixing as soon as you don’t see any more dry flour. The dough will look shaggy and rough – that’s exactly what you want.
Shape and Fold
Turn your dough out onto a lightly floured surface. Gently press it together into a rough rectangle. Now fold the dough in half and press down gently. Fold it in half again. Repeat this folding process 3 to 4 times total.
This folding technique creates layers in your scones. Each fold creates another layer of butter between the dough. When baked, these layers separate and create that signature flaky texture.
Shape your dough into a circle about 8 inches across. Use a bench scraper or sharp knife to cut it into 8 equal wedges. Transfer these wedges to a parchment-lined baking sheet, spacing them about 2 inches apart.
Chill and Bake
Place your baking sheet in the refrigerator for 30 minutes. This chilling time is essential. It keeps the butter cold so it doesn’t melt too quickly in the oven.
While the scones chill, preheat your oven to 400°F (200°C). Just before baking, brush the tops of your scones with buttermilk or beaten egg. This gives them that beautiful golden color.
Bake for 15 to 18 minutes until the scones are golden brown and risen. They should feel firm to the touch. Let them cool on the baking sheet for 5 minutes before serving.
Pro Tips for Success
Keep Everything Cold: This is my number one tip. Cold butter creates steam in the oven, which makes those flaky layers. If your kitchen is warm, chill your bowl and work quickly.
Don’t Overmix: Handle the dough as little as possible. Overmixing develops gluten, which makes scones tough instead of tender.
Use Fresh Baking Powder: Old baking powder won’t give you the rise you need. Test yours by adding a teaspoon to hot water. It should fizz immediately.
Variations, Serving Suggestions & FAQs
Delicious Variations to Try
Once you’ve mastered the basic recipe, have fun experimenting with different flavors. Here are some of my favorite combinations that I return to again and again.
Berry Scones: Fold in ¾ cup of fresh or frozen berries after mixing the dough. Blueberries and raspberries work beautifully. If using frozen, don’t thaw them first.
Chocolate Chip Scones: Add ¾ cup of chocolate chips to the dough. I love using a mix of dark and milk chocolate chips for extra depth.
Citrus Scones: Add the zest of one lemon or orange to the dry ingredients. The bright citrus flavor pairs wonderfully with the buttery dough.
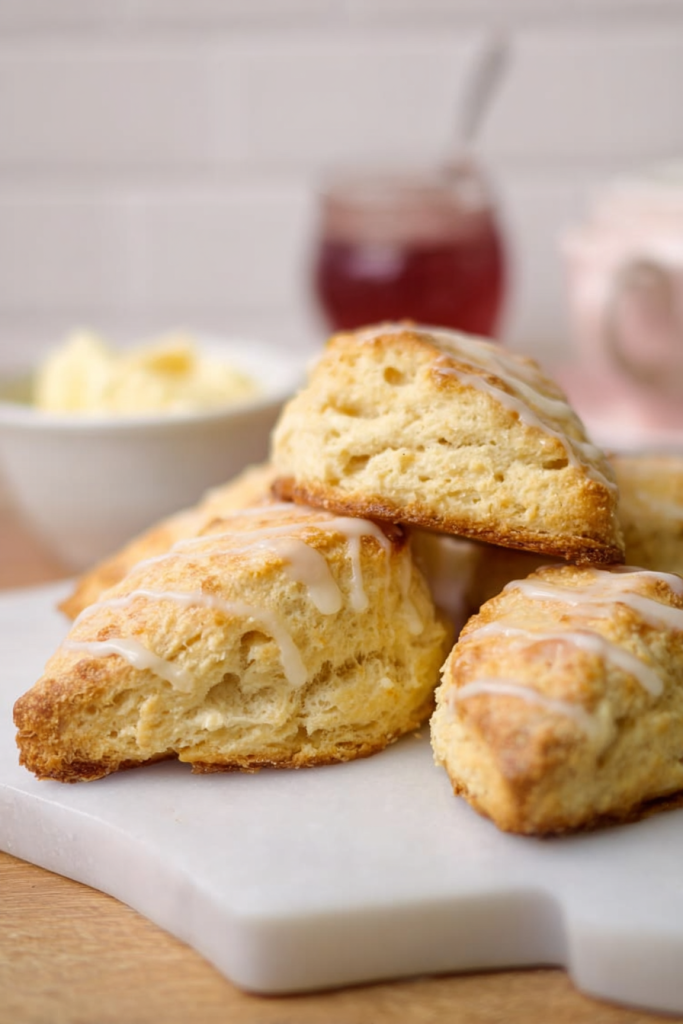
Glazed Scones: Drizzle cooled scones with a simple glaze made from powdered sugar and milk. Add vanilla or almond extract for extra flavor.
Serving Suggestions
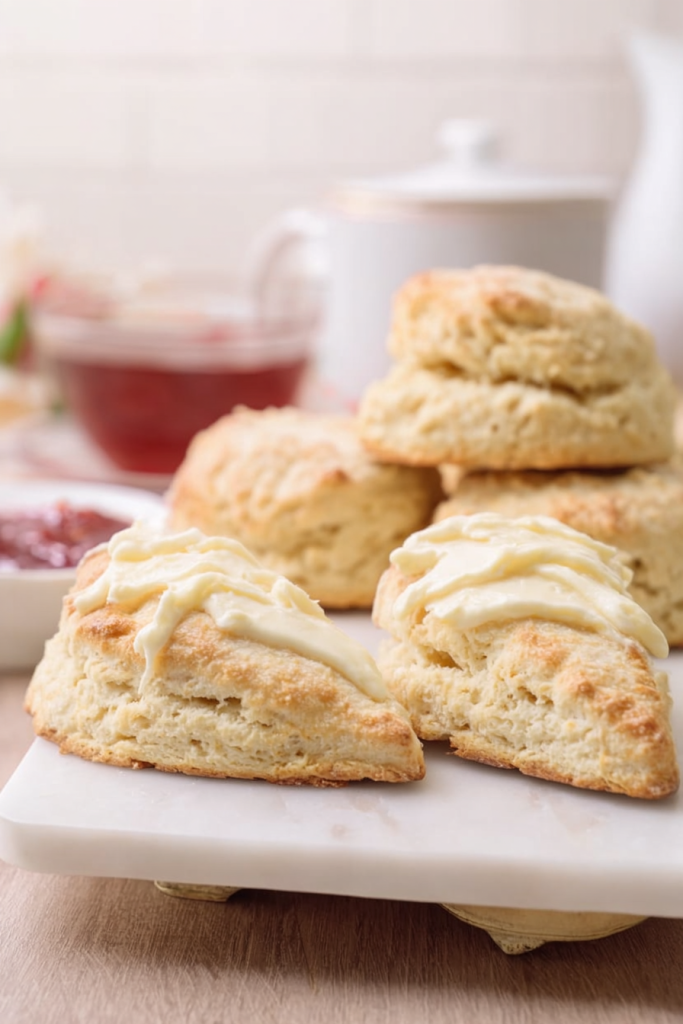
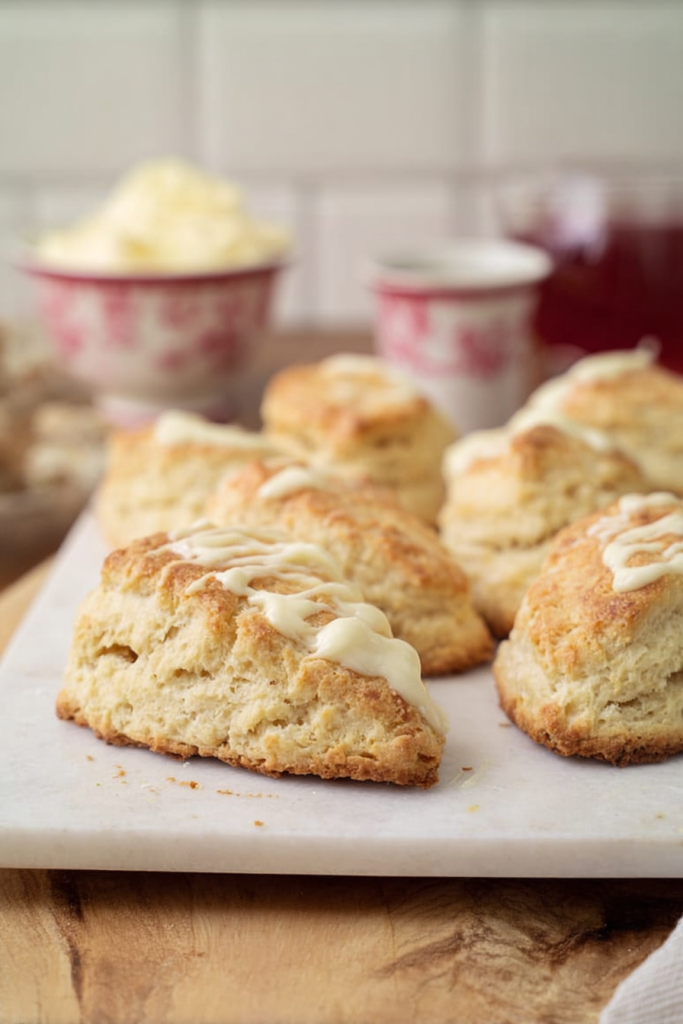
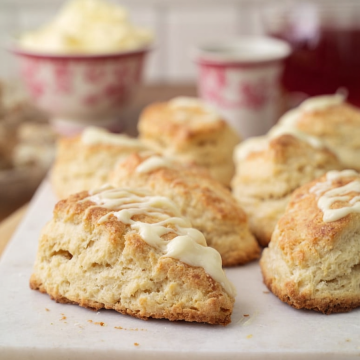
I love serving these scones warm from the oven with a pat of butter. The butter melts into all those flaky layers – it’s absolutely divine. For a more traditional approach, serve them with jam and clotted cream.
These scones are perfect for breakfast with your morning coffee. They’re also wonderful for afternoon tea with friends. I’ve even served them at brunch gatherings with various toppings on the side.
Try them with honey and whipped cream for a simple dessert. Or toast day-old scones and spread them with cream cheese. There’s really no wrong way to enjoy them.
Storage Tips
Store cooled scones in an airtight container at room temperature. They’ll stay fresh for up to 2 days. To refresh day-old scones, warm them in a 300°F oven for 5 minutes.
You can freeze unbaked scones for up to 3 months. Arrange cut scones on a baking sheet and freeze until solid. Transfer to a freezer bag. Bake directly from frozen, adding 2 to 3 minutes to the baking time.
Frequently Asked Questions
Can I use regular milk instead of buttermilk?
Yes, you can make a buttermilk substitute. Add 1 tablespoon of lemon juice or white vinegar to ½ cup of milk. Let it sit for 5 minutes before using. However, real buttermilk gives the best flavor and texture.
Why did my scones turn out flat?
Flat scones usually mean the butter was too warm or the dough was overworked. Make sure all your ingredients are cold and handle the dough gently. Also check that your baking powder is fresh.
Can I make the dough ahead of time?
Yes! Shape the scones and refrigerate them covered for up to 24 hours before baking. You can also freeze shaped scones and bake them directly from frozen.
How do I know when my scones are done?
Your scones should be golden brown on top and firm to the touch. They should have risen noticeably. If you’re unsure, insert a toothpick into the center – it should come out clean.
Can I add nuts to this recipe?
Absolutely! Chopped pecans or walnuts are delicious in scones. Add ½ cup along with the wet ingredients. Toast the nuts first for even better flavor.
Easy Scone Recipe
Ingredients
- 2 ½ cups all-purpose flour 312g
- ⅓ cup granulated sugar 66g
- ½ teaspoon salt
- 1 tablespoon baking powder
- 1 ¼ sticks unsalted butter 140g, cold and cubed
- ½ cup buttermilk 120ml, cold
- 1 large egg cold
- 1 teaspoon vanilla extract
- Extra buttermilk or beaten egg for brushing
Instructions
- Prepare the Dry Ingredients
- Combine flour, sugar, salt, and baking powder in a large mixing bowl. Whisk together until evenly distributed.
- Cut in the Butter
- Add cold butter cubes to the flour mixture. Using your fingertips, rub the butter into the flour until you have pea-sized pieces. Flatten some butter pieces between your fingers to create thin flakes. The mixture should look crumbly and pale yellow.
- Mix the Wet Ingredients
- In a separate bowl, whisk together egg, buttermilk, and vanilla extract until smooth and slightly frothy.
- Combine Wet and Dry
- Pour the wet mixture into the flour and butter mixture. Gently fold together with a wooden spoon or spatula until no dry flour remains. The dough will look shaggy and rough.
- Shape and Fold
- Turn dough onto a lightly floured surface. Press into a rough rectangle. Fold in half and press gently. Repeat folding 3 to 4 times total to create layers.
- Cut the Scones
- Shape dough into an 8-inch circle. Cut into 8 equal wedges using a bench scraper or sharp knife. Transfer to a parchment-lined baking sheet, spacing 2 inches apart.
- Chill
- Refrigerate the baking sheet for 30 minutes.
- Bake
- Preheat oven to 400°F (200°C). Brush scone tops with buttermilk or beaten egg. Bake for 15 to 18 minutes until golden brown and risen. Cool on baking sheet for 5 minutes before serving.
Notes
Don’t Overmix: Handle the dough as little as possible to avoid tough scones.
Fresh Baking Powder: Test your baking powder by adding a teaspoon to hot water – it should fizz immediately.
Buttermilk Substitute: Mix ½ cup milk with 1 tablespoon lemon juice or white vinegar. Let sit 5 minutes before using.
Storage: Store in an airtight container at room temperature for up to 2 days. Refresh day-old scones in a 300°F oven for 5 minutes.
Freezing: Freeze unbaked scones for up to 3 months. Bake directly from frozen, adding 2-3 minutes to baking time.
Variations: Berry Scones: Add ¾ cup fresh or frozen berries
Chocolate Chip: Add ¾ cup chocolate chips
Citrus: Add zest of 1 lemon or orange to dry ingredients
Glazed: Drizzle with powdered sugar and milk glaze
RetryClaude can make mistakes. Please double-check responses.