

Interest in old-school pizza techniques has surged lately, with more home cooks chasing those iconic, crisp Italian-style crusts. I’ve noticed this especially during my temperature mapping tests—people want to know why their pizza base bubbles unevenly or why one edge chars while the rest stays pale. Having tested hundreds of kitchen tools over the years, I’ve learned that the best results for a classic, wafer-thin Italian pizza dough come from simple, heavy equipment that’s often overlooked in favor of flashy gadgets. Let’s break down what makes this style of dough unique and how heat, time, and technique all interact to create that signature texture.
Key Takeaways
- Authentic Italian-style thin pizza dough relies on high-gluten flour, minimal yeast, and careful temperature management.
- Precise heat distribution is crucial—uneven pan temperatures create inconsistent crusts.
- Fermentation time and hydration directly affect crispness, chew, and flavor.
- Pan material and thickness play a bigger role than most realize in achieving the classic texture.
The Science of Classic Italian Thin Pizza Dough
What Sets This Style Apart
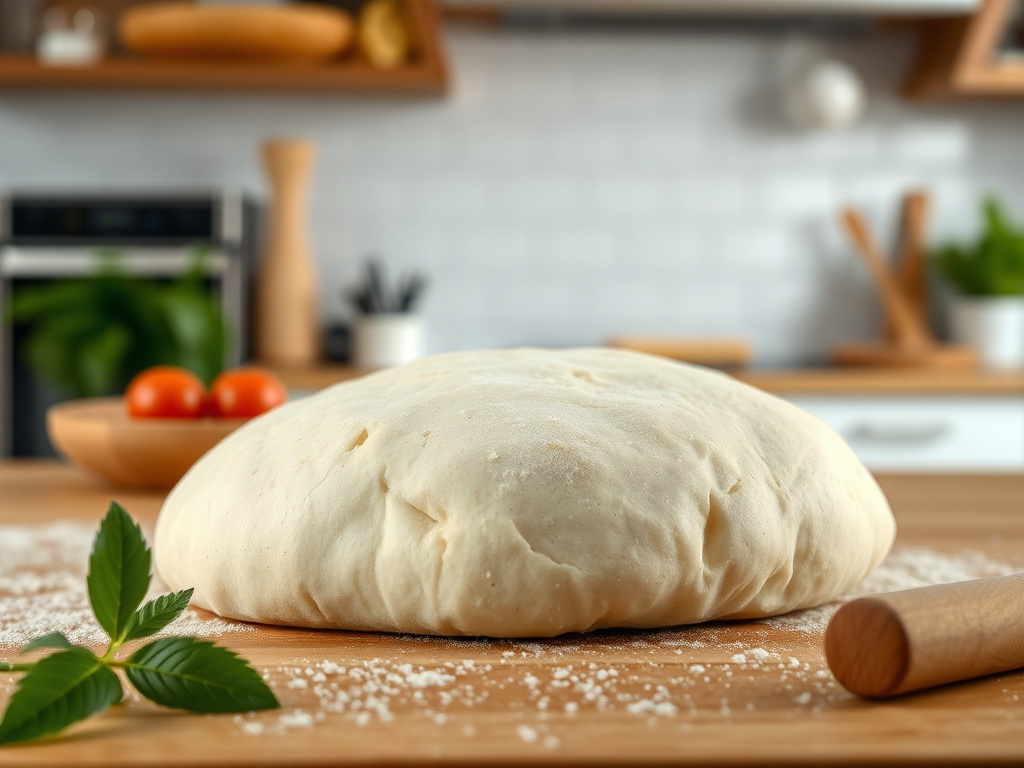
True Italian pizza bases, especially those found in Rome and Naples, are defined by their thin, crisp, yet pliable structure. The dough stretches easily without tearing and bakes up with a golden, blistered finish. The secret isn’t just the ingredients—it’s the balance between hydration, gluten development, and, most importantly, how heat travels through your baking surface.
Key Ingredients and Their Roles
- Flour: High-protein (ideally 12–13%) flour forms a strong gluten network, creating stretch and chew. 00 flour is traditional.
- Water: Hydration levels for these doughs usually range from 58% to 65% (by baker’s percentage). Higher hydration gives lighter bubbles, but too much can make shaping difficult.
- Yeast: Tiny amounts, often less than 0.5% of the flour weight, encourage slow fermentation for flavor and digestibility.
- Salt: Around 2–3%—it tightens gluten and boosts flavor.
- Olive Oil (optional): Some Roman-style recipes include a splash for tenderness, but classic Neapolitan doughs skip it.
Fermentation: Time and Temperature Matter
The extended, cold fermentation (often 12–24 hours in the fridge) is key. This slow process lets yeast produce flavor compounds and allows the gluten to relax, making the dough easier to stretch super-thin without tearing. In my own temperature tests, doughs fermented at lower temperatures produce a more even bubble structure and resist overbaking on hot stones or steels.

How Heat Affects the Final Crust
Conductivity, Retention, and Why Pan Choice Matters
When mapping the heat on various pans and stones with my infrared thermometer, I consistently see major differences in temperature uniformity. Heavy steel and cast iron pans retain and distribute heat far more evenly than thin aluminum or ceramic options. This matters because thin pizza doughs cook in under 7 minutes—any hot spot can char one area while leaving the rest soggy.
- Steel baking steels: Heat up quickly and hold temperature, leading to rapid bottom crisping.
- Cast iron: Slightly slower to preheat but offers consistent, steady heat during baking.
- Stone: Absorbs moisture well but can have cool zones if not fully preheated.
During a cold-start preheat, I’ve tracked up to a 60°F difference between the center and edges of certain pizza stones, even after 45 minutes. That’s why getting your pan or stone hot enough and making sure it’s preheated evenly is non-negotiable.
Oven Temperatures and Timing
For thin Italian-style pizza doughs, the oven should be at least 500°F (260°C), preferably 550°F (288°C) or higher if your oven allows. Bake times range from 5 to 8 minutes depending on thickness and toppings. Too low a temperature and the dough dries out before browning; too high and you risk burning the bottom before the edges set.
Step-by-Step: Crafting Thin, Authentic Italian Pizza Dough
1. Mix and Knead
- Combine 500g high-protein flour, 325g water (65% hydration), 10g salt, and 1g instant yeast in a bowl.
- Mix until just combined, then knead by hand or with a stand mixer for 8–10 minutes until the dough is smooth and elastic.
2. First Fermentation
- Place dough in a lightly oiled container.
- Cover and rest at room temperature for 1 hour to jump-start yeast activity.
- Transfer to the refrigerator for a slow, cold ferment: 12–24 hours is ideal.
3. Portion and Rest
- Divide dough into 200–250g balls for individual pizzas.
- Let the balls rest, covered, at room temperature for 1 to 2 hours before shaping.
4. Shaping and Stretching
- On a floured surface, gently press each ball into a disk.
- Use your fingertips and knuckles to stretch the dough to 12″ diameter (or thinner if preferred), aiming for a thickness of 2–3mm.
- Avoid rolling pins—hand stretching preserves air bubbles and texture.
5. Baking
- Preheat your oven with a steel, stone, or cast iron pan inside for at least 45 minutes at maximum temperature.
- Transfer the stretched dough onto a floured peel and add toppings sparingly.
- Slide onto the preheated surface and bake for 5–8 minutes until the edges are golden and crisp.
If you want a deeper look at dough handling, shaping, and traditional Italian techniques, see the detailed guide on classic pizza base methods and Italian secrets for perfect crust.
Common Pitfalls and Solutions for Thin Pizza Dough
Why Your Crust Isn’t Crispy (and How to Fix It)
One of the most frequent complaints I hear is about limp or soggy pizza bases. This almost always traces back to three culprits: insufficient oven/pan heat, high moisture levels, or improper fermentation. If your pan or stone reads below 450°F (232°C) at the center, the dough can’t set quickly enough, allowing steam to make the base gummy.
Edge Burning and Uneven Browning
Hot spots are a silent enemy. If your pizza emerges with blackened edges and a pale center, your pan or stone likely has poor heat distribution. I’ve recorded edge temperatures up to 70°F higher than the middle on low-end stones. Rotating the pizza halfway through baking helps, but upgrading to a heavy, well-seasoned steel or cast iron pan is the best fix.
Tough or Dense Texture
Dough that feels tough or chewy usually signals under-hydrated flour or over-kneading. Thin Italian-style dough should be supple and elastic, not stiff. Stick to the 65% hydration sweet spot, and stop kneading once the dough passes the windowpane test. If you want a detailed recipe for a reliable thin crust base, check out the step-by-step guide for classic pizza dough.
Expert Oven and Tool Maintenance for Consistent Results
Regular Cleaning = Even Heating
Residue or baked-on flour can create insulation, causing cold spots on your pan or stone. I recommend scrubbing stones and steels with a stiff brush (never soap) after each use. For cast iron, wipe with a lightly oiled cloth to maintain seasoning and conductivity.
Monitoring Surface Temperatures
Even the best ovens have quirks. Always check the surface temp of your baking steel, stone, or pan before launching dough. If you notice persistent hot or cold spots, reposition your rack and preheat longer. Mapping your pan with an infrared thermometer takes seconds and reveals more than any manufacturer’s brochure.
Storing and Handling Dough
Keep dough covered during rest phases to prevent drying. For longer storage (up to 72 hours), lightly oil the container and let the dough rise slowly in the fridge. This enhances flavor and elasticity, making it easier to stretch thin without tearing.
For perfect slices, understanding how to use a pizza slider can make a big difference. If you’re curious about slicing and serving efficiently, see the pizza slider tool explanation for more details.
Frequently Asked Questions
How thin should authentic Italian pizza dough be for a crisp yet chewy base?
The ideal thickness is usually around 2–3mm once stretched. This allows for quick, even cooking and achieves that balance between crispness and a slight chew. Thinner dough can become brittle, while thicker bases lose the signature delicate texture of Italian-style pizza.
Can I use all-purpose flour for thin crust pizza bases?
You can use all-purpose flour, but the results will be less stretchy and chewy than with high-protein flours. Italian recipes traditionally call for 00 flour (12–13% protein) to develop strong gluten, letting the dough stretch thin without tearing. If using all-purpose, reduce hydration slightly and knead longer for best results.
What causes uneven browning on my pizza base?
Uneven browning usually points to inconsistent heat distribution on your baking surface. Thin Italian pizza doughs are very sensitive to hot spots. Always preheat your pan or stone thoroughly and check with an infrared thermometer. Rotating the pizza partway through baking can also help even out the crust color.
How long should I ferment my dough for the best flavor and texture?
A slow, cold fermentation of 12–24 hours in the refrigerator is ideal. This allows yeast to develop complex flavors and makes the dough easier to stretch thinly. Shorter rises produce less flavor and can result in denser, less bubbly crusts.
What’s the best way to keep thin pizza dough from sticking to the peel?
Dust your peel generously with semolina or cornmeal before placing the stretched dough on it. Work quickly—don’t let the dough sit on the peel for more than a minute or two, as it can start to absorb moisture and stick. A gentle back-and-forth shake before launching ensures it’s not stuck.
