

Home bread baking has shifted in recent years. More bakers, both seasoned and new, are swapping out metal pans for the humble pizza stone. What stands out isn’t flashy marketing or new tech, but the return to simple, heavy, stone tools that quietly outperform their shinier counterparts. In my own kitchen, after testing hundreds of gadgets, I’ve learned that consistent heat and even temperature distribution—what I map with my infrared thermometer—matter more than any fancy design. Those old, weighty slabs tucked in your oven drawer are often the secret behind bakery-style crusts when baking loaves on a pizza stone.
Key Takeaways
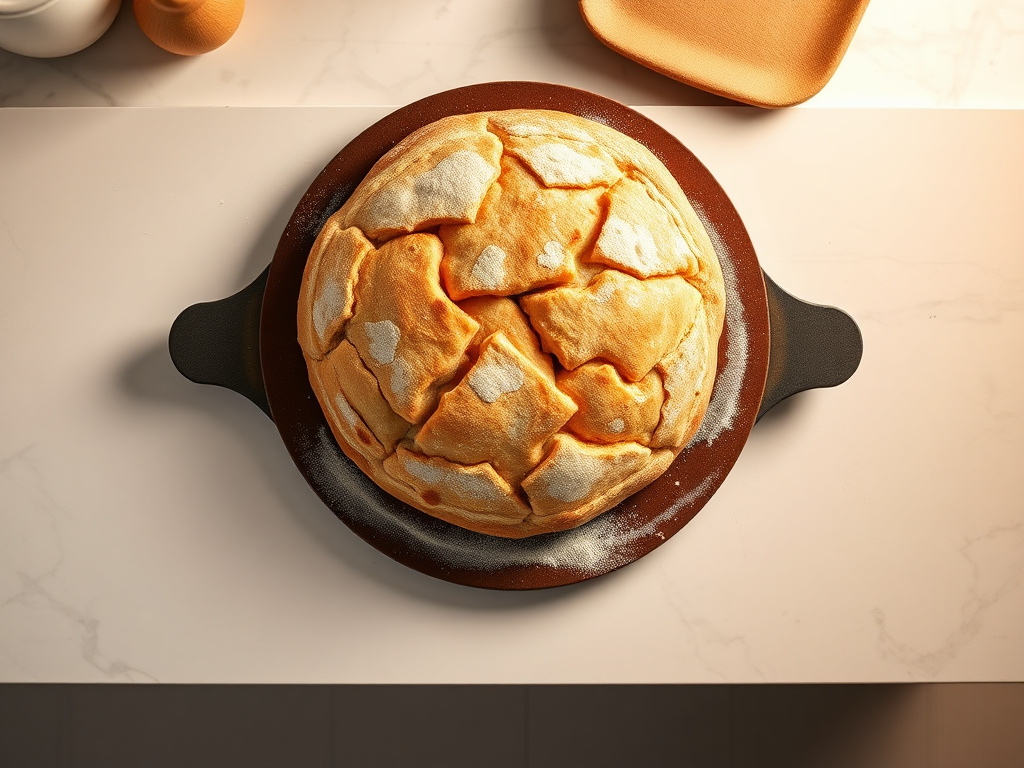
- Pizza stones hold and distribute heat evenly, giving homemade bread a crisper, more professional crust.
- Preheating the stone is crucial—aim for at least 45 minutes at 475°F for the best temperature distribution.
- Managing steam and dough hydration is key to a chewy crumb and open structure when baking loaves on stone.
Step 1: Selecting and Prepping the Pizza Stone
Why Stone Matters for Bread
When it comes to heat retention and conductivity, not all bakeware is created equal. Pizza stones—whether cordierite, ceramic, or granite—excel at holding steady temperatures and diffusing heat gradually. This prevents hot spots, a flaw I often expose by mapping pan surfaces with an infrared thermometer during preheating. Stones outperform thin metal pans by creating a uniform environment, promoting a crisp bottom crust and oven spring.
If you want to explore the merits of granite for bread, our granite baking stone testing guide dives deeper into the science and usability of each type.
Proper Stone Placement
Always place your pizza stone on the lower-middle rack of a cold oven. This allows it to heat gradually, reducing thermal stress and the risk of cracking. The location also ensures optimal radiant heat for bread crust formation, without excessive top browning.
Preheating for Temperature Uniformity
Preheat your oven with the stone in place for at least 45-60 minutes at 475°F (246°C). My surface temperature maps consistently show that stones take much longer to reach equilibrium than most oven thermostats suggest. Even a thick cordierite stone can lag behind the air temperature by 10-40°F if preheated briefly. Use an infrared thermometer to check for cold spots—these often occur near oven doors or corners.

Step 2: Dough Preparation for Stone Baking
Hydration and Structure
High hydration doughs (70%–80% water compared to flour by weight) are ideal for stone baking. The extra moisture helps develop an open crumb and chewy texture, as the hot stone encourages rapid steam formation at the loaf’s base. This steam is essential for oven spring and crispness. Lower hydration doughs can work, but may yield a denser result.
Shaping for Stone Baking
Shaping matters more than it seems. Batards, boules, and baguettes all behave differently on a stone. Tighter shaping with a smooth, taut surface helps maximize oven spring. If you’re considering a lidded pan for sourdough, I’ve explored every angle in the batard baking pans guide, but baking directly on stone gives unparalleled bottom crust.
Transferring Dough to the Stone
Use a well-floured peel or a sheet of parchment to transfer the proofed dough. Parchment is especially helpful for high-hydration doughs, preventing sticking and making the launch less stressful. Slide dough quickly and decisively to avoid heat loss from the oven.
Step 3: Baking Bread on a Pizza Stone—Process and Timing
Loading and Steam
With your dough ready and your stone roaring hot, slide the loaf onto the stone as quickly as possible. Immediately introduce steam: pour 1 cup of boiling water into a preheated cast iron skillet or metal tray placed on a lower rack. Shut the oven door promptly—steam helps the dough expand before the crust sets, creating that sought-after ear and blistered appearance.
Baking Times and Temperatures
- Standard loaves: Bake at 475°F (246°C) for 20 minutes with steam, then vent the oven and finish for another 15–25 minutes until the crust is deep golden brown.
- Baguettes and smaller loaves: 18–22 minutes total, reducing time after steaming.
- Internal bread temperature should reach 205°F (96°C) for optimal crumb texture.
Crust and Crumb: The Science
The porous structure of pizza stones absorbs moisture from the dough’s base. This produces a crisp, blistered crust. The even surface temperature—something I check rigorously with thermal mapping—prevents burnt spots and ensures the loaf bakes uniformly from edge to center.
Essential Maintenance and Cleaning Tips
Cleaning Without Soap
Pizza stones are porous and will absorb soap and moisture. After baking, let the stone cool completely in the oven. Remove any stuck-on bits with a dry bench scraper. For stains, wipe with a damp cloth only—never soak or use detergent.
Long-Term Care
Allow your stone to season naturally. Over time, it will darken and develop a nonstick surface. Avoid sudden temperature changes—never place a cold stone into a hot oven or run cold water over a warm stone, as this can cause thermal shock and cracking.
Storage
Store the stone right in your oven. This helps protect it and even acts as a heat stabilizer for other baking. If you’re curious about stone shape and its effect on baking, see our complete breakdown in the pizza rectangular vs. round guide.
Troubleshooting: Common Issues When Baking Bread on Stone
Uneven Baking or Pale Bottom
This typically occurs when the stone isn’t fully saturated with heat. Always allow ample preheating and, if your oven has hot or cold spots, rotate the bread or stone halfway through the bake for even results.
Bread Sticking to the Stone
Dust the peel and stone with semolina or fine cornmeal before loading. For wetter doughs, a piece of parchment paper between dough and stone is very effective. Don’t oil the stone—this only causes smoke and sticky residues.
Burnt Crust
Monitor both oven temperature and the stone’s surface with a thermometer. Reduce baking time in the final uncovered phase if browning occurs too quickly. Stones, especially when well-seasoned, transfer heat more efficiently than many expect.
Frequently Asked Questions
Does baking bread on a pizza stone really make a difference in crust texture?
Absolutely. A pizza stone stores and radiates heat more evenly than a thin metal sheet, allowing dough to spring up and develop that coveted crisp, blistered crust. My IR scans show fewer hot spots, so the loaf bakes consistently from edge to edge. If you want a crust that rivals wood-fired bakery loaves, stone baking is a must.
How do I prevent my bread from sticking to the stone?
For best results, dust both your peel and the stone with semolina or cornmeal before transferring dough. High hydration loaves benefit from using parchment as a barrier—remove it halfway through for direct contact. Never oil the stone; this leads to smoke and gummy residues over time.
Can all types of bread be baked on a pizza stone, or are there exceptions?
Most rustic and artisan loaves—sourdough, batards, boules—benefit from stone baking. Enriched doughs with extra sugar or fat (like brioche) can brown too rapidly, so monitor closely or lower the oven temperature by 10–15°F. For specialized pans, see our guide to batard baking pans with lids.
