

Let me tell you something. The first time I made this pie, I was running late for a family dinner and had absolutely zero time to bake anything.
No butter melting. No preheating. No standing over a hot stove.
I threw this together in about ten minutes, tossed it in the fridge, and showed up like I had spent all afternoon in the kitchen. My aunt asked me for the recipe before she even finished her slice.
That is the kind of dessert this is.
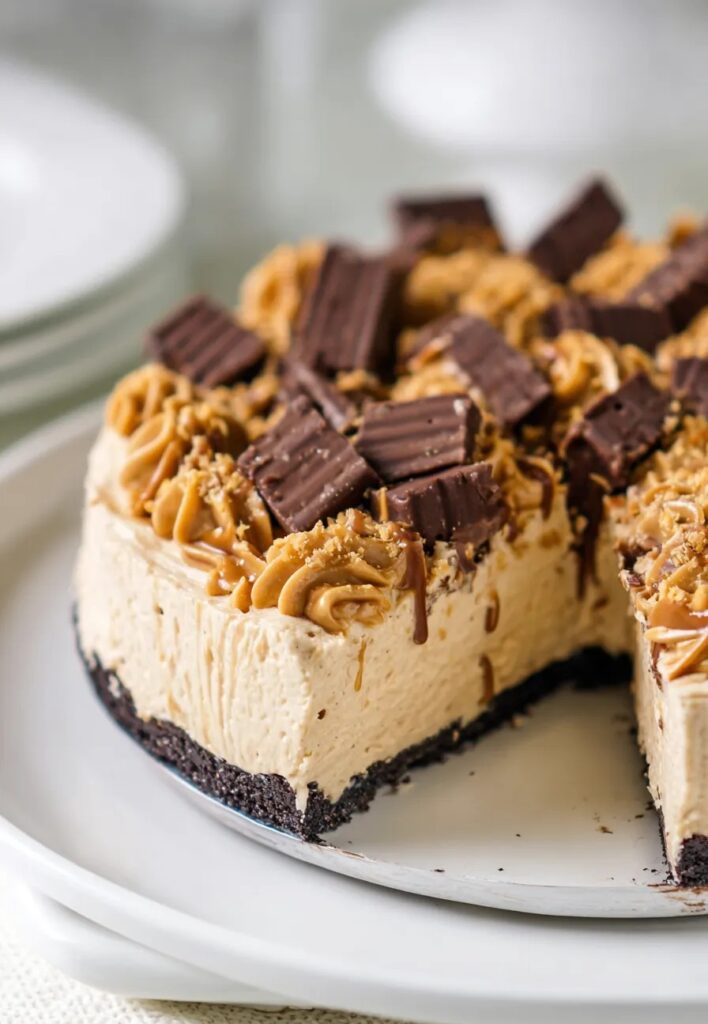
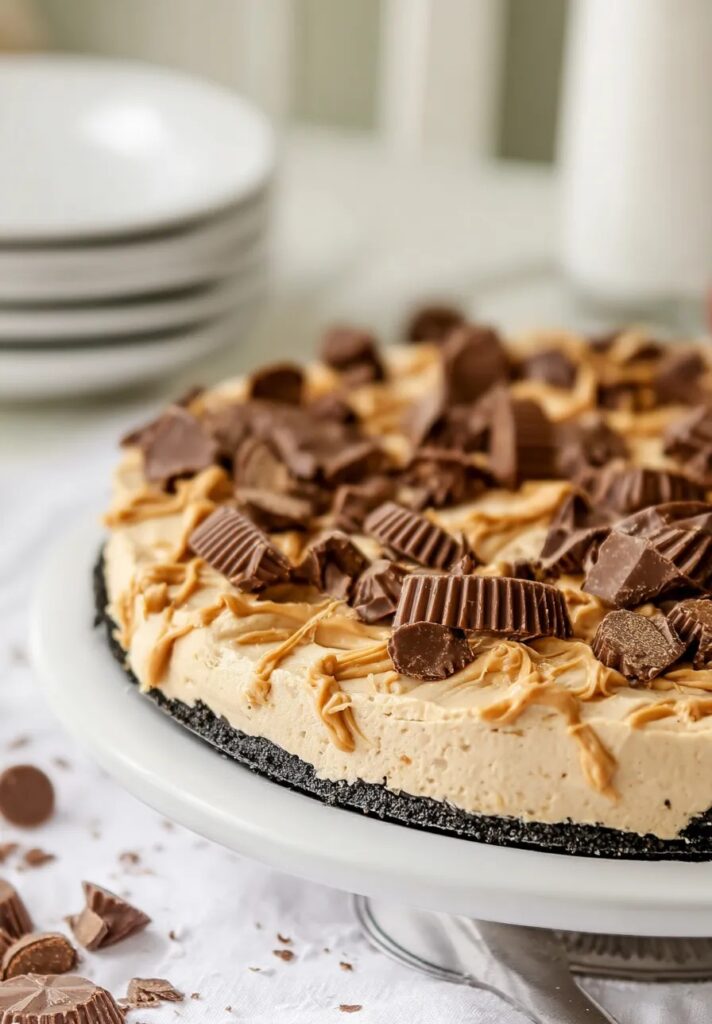
It is fluffy, rich, creamy, and packed with that deep peanut butter flavor that just hits differently. The graham cracker crust gives you that sweet, buttery crunch underneath. And together? It tastes like something you would order at a fancy restaurant. Not something you made with five ingredients and a hand mixer.
The best part? You do not even touch your oven.
Why This Recipe Just Works
I have tried a lot of no-bake pie variations over the years. Some come out too dense. Some are too sweet. Some fall apart the moment you try to slice them.
This one gets it right every single time. Here is why:
- Cream cheese adds a subtle tang that keeps the filling from tasting one-note
- Creamy peanut butter brings that rich, nutty depth we are all here for
- Powdered sugar dissolves smoothly so your filling stays silky, never gritty
- Cool Whip folds in to give the whole thing a light, airy lift
Every ingredient is doing a job. Nothing is extra.
What You Will Need
Make sure your cream cheese is fully softened before you start. Cold cream cheese will leave lumps, and nobody wants that.
| Ingredient | Quantity | Notes |
|---|---|---|
| Graham cracker crust | 1 (9-inch) | Store-bought works perfectly |
| Cream cheese | 8 ounces | Softened to room temperature |
| Creamy peanut butter | 1 cup | Stick to commercial brands, not natural |
| Powdered sugar | ¾ cup | Sift it to avoid lumps |
| Cool Whip | 8 ounces | One container, fully thawed |
| Chocolate sauce | Optional | For drizzling on top |
| Mini chocolate chips | Optional | Adds a nice little crunch |
| Reese’s Peanut Butter Cups | Optional | Chopped, for topping |
Let’s Make It
Step 1: Beat the Base
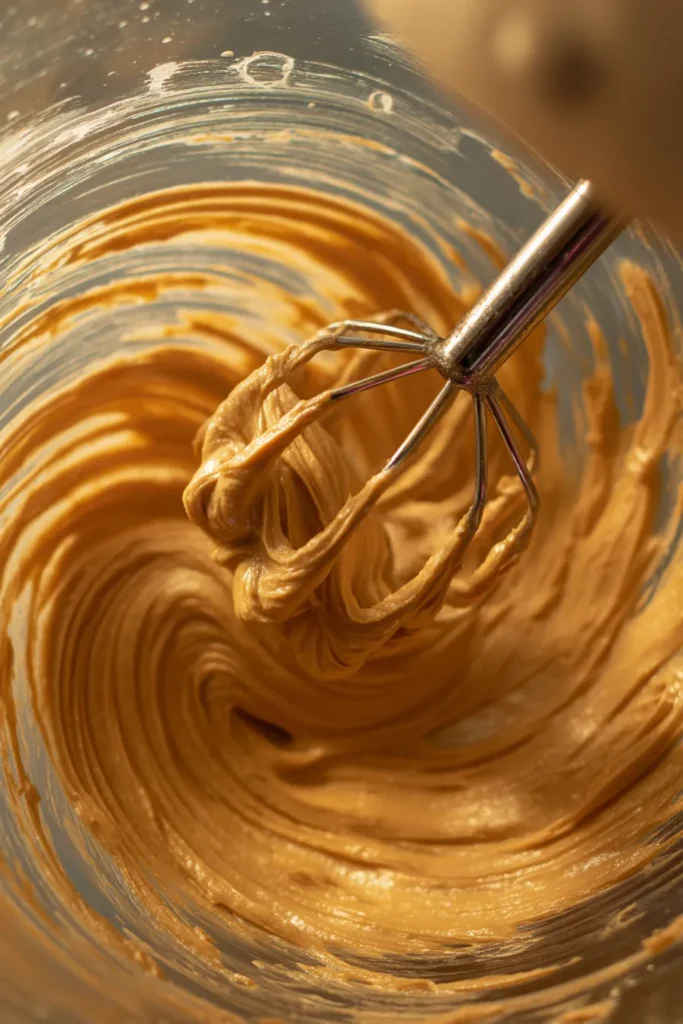
Grab a large mixing bowl. Add your softened cream cheese and creamy peanut butter. Turn your hand mixer or stand mixer to medium speed and beat until the two are fully combined. No streaks. No lumps. Just a smooth, thick, golden mixture.
Pro tip: Stop the mixer halfway through and scrape down the sides of the bowl with a rubber spatula. It is easy for cream cheese to hide at the bottom and stay unmixed.
Step 2: Sweeten It Up
Now add in your powdered sugar. Go slow at first. Trust me, adding it all at once on high speed is a great way to end up wearing it.
Start on low until the sugar starts to incorporate, then bump up the speed. Beat until everything is smooth and the mixture looks just slightly lighter in color. It will be thick. That is exactly what you want.
Step 3: Fold in the Cool Whip
This step is everything. This is what makes the filling light instead of heavy.
Take the bowl off the mixer. Set it to the side. We are doing this part by hand.
Scoop your thawed Cool Whip into the bowl and use your rubber spatula to gently fold it in. Scoop from the bottom, lift, and fold over the top. Slow and steady. Do not stir it like you are making scrambled eggs.
The goal is to keep all that air trapped inside the whipped topping. That air is what gives this pie its gorgeous, cloud-like texture. Keep folding until you see no more white streaks.
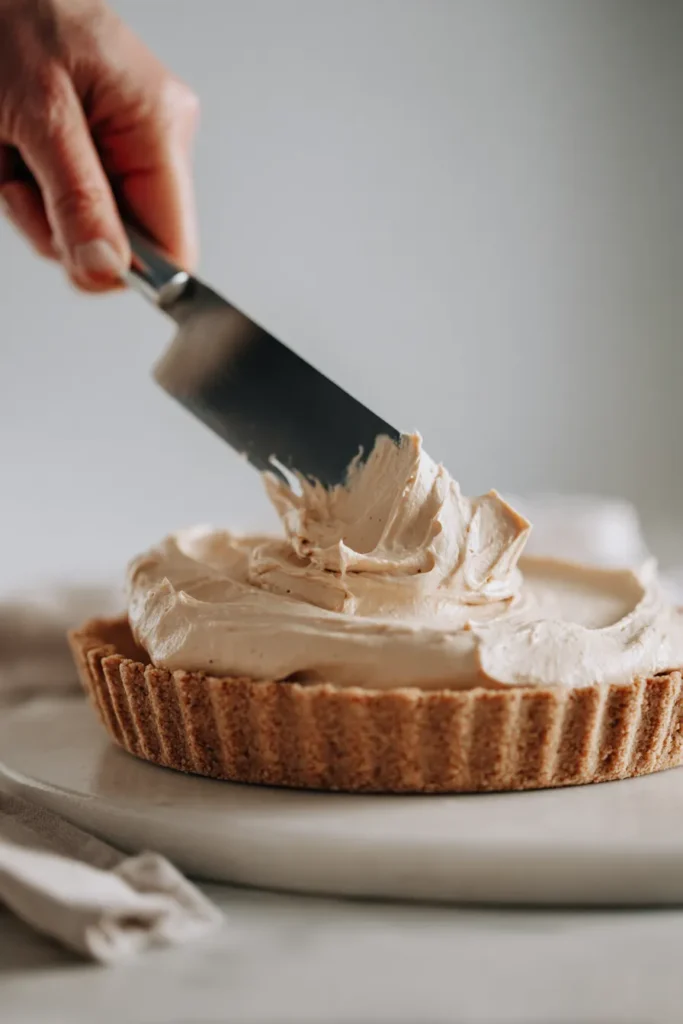
Step 4: Fill the Crust
Pour your filling into the graham cracker crust and use a spatula to spread it evenly all the way to the edges. Smooth the top however you like. Swoops and peaks look beautiful. A flat surface looks clean and polished. You really cannot go wrong.
Step 5: Chill (and Be Patient)
Cover the pie with the plastic lid that came with your store-bought crust. If you tossed it already, just drape some plastic wrap loosely over the top.
Now, refrigerate for at least 3 hours. Overnight is even better.
I know it is hard to wait. But this chilling time is not optional. The filling needs to firm up so you can slice it cleanly and actually get it onto a plate without it collapsing. The flavors also come together in a way that is noticeably better after a full rest.
Step 6: Add Your Toppings and Serve
Once it is fully chilled and set, the fun part begins.
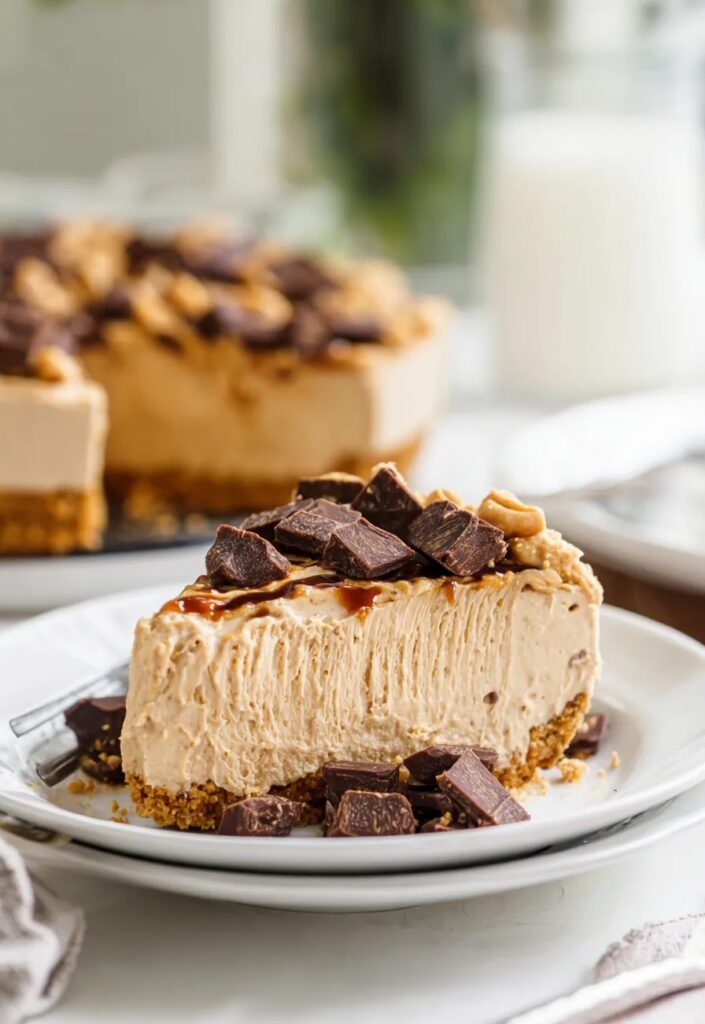
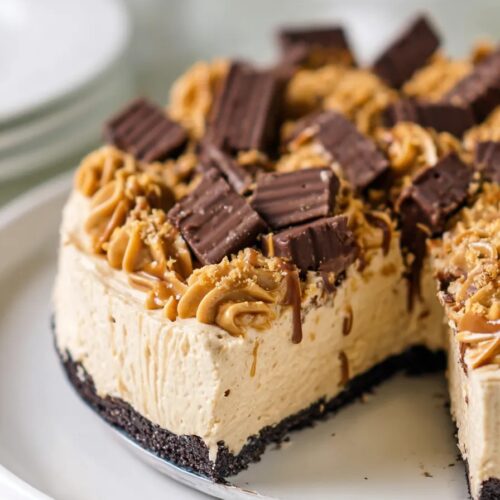
Drizzle chocolate sauce across the top in whatever pattern you like. Scatter a handful of mini chocolate chips. Add some chopped Reese’s Peanut Butter Cups for crunch and that extra peanut butter punch. Or skip the toppings entirely. It is honestly delicious either way.
Slice it cold and serve immediately.
Questions I Get Asked All The Time
Can I freeze this instead of refrigerating it?
Yes, and honestly, the frozen version is incredible. It turns into something almost like a peanut butter ice cream pie. If you go this route, wrap it tightly. When you are ready to eat, let it sit on the counter for about 10 to 15 minutes before slicing. Just enough to thaw slightly so your knife glides through cleanly.
How long do leftovers last?
Keep it covered in the fridge and it will stay fresh for up to four days. The plastic lid from the original crust fits right back on, which makes storage super easy.
Can I use natural peanut butter?
I really would not recommend it for this recipe. Natural peanut butter tends to separate over time, releasing oil into the filling. That will completely ruin the texture you are going for. Stick with a standard commercial brand like Jif or Skippy.
What if I cannot find a graham cracker crust?
A chocolate cookie crust is a fantastic swap. Peanut butter and chocolate are basically best friends, so it works beautifully. You can also make your own graham cracker crust at home if you prefer. Just make sure it is completely cooled before you add the filling.
Quick Recipe Overview
| Prep Time | 10 minutes |
| Chill Time | 3 hours minimum |
| Total Time | 3 hours 10 minutes |
| Servings | 8 slices |
| Difficulty | Easy |
This pie has shown up at more family dinners, potlucks, and last-minute get-togethers than I can count. And every single time, someone asks how I made it. Every single time, I watch their face when I tell them how simple it is.
That look of disbelief? That is my favorite part.
Give it a try this weekend. You are going to love it.
Easy No-Bake Peanut Butter Pie
Ingredients
Pie Base
- 1 9-inch graham cracker crust Store-bought works perfectly
- 8 ounces cream cheese Fully softened to room temperature
- 1 cup creamy peanut butter Commercial brands like Jif or Skippy
- 3/4 cup powdered sugar Sifted to avoid lumps
- 8 ounces Cool Whip One container, fully thawed
Optional Toppings
- Chocolate sauce For drizzling
- Mini chocolate chips For crunch
- Reese’s Peanut Butter Cups Chopped
Instructions
- Beat the Base: In a large bowl, beat softened cream cheese and peanut butter on medium speed until smooth and fully combined. Scrape down the sides of the bowl halfway through.
- Sweeten: Add powdered sugar slowly. Start on low speed, then increase to medium. Beat until thick, smooth, and slightly lighter in color.
- Fold: Using a rubber spatula, gently fold the thawed Cool Whip into the mixture by hand. Scoop from the bottom and fold over until no white streaks remain, keeping the mixture airy.
- Fill: Pour filling into the graham cracker crust. Smooth the top with a spatula, creating peaks or a flat surface as desired.
- Chill: Cover and refrigerate for at least 3 hours (overnight is better) to allow the filling to firm up for clean slicing.
- Toppings: Before serving, drizzle with chocolate sauce and scatter chocolate chips or chopped peanut butter cups if desired. Serve cold.